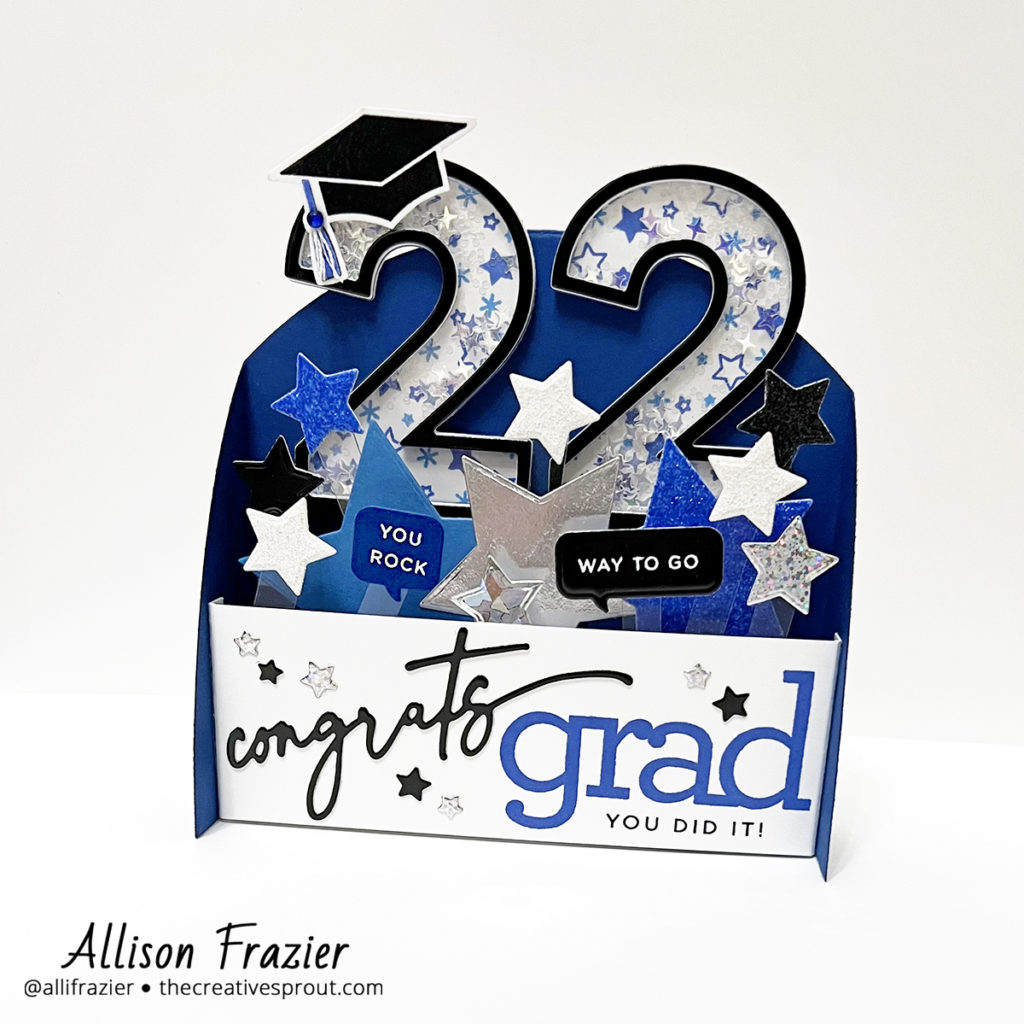
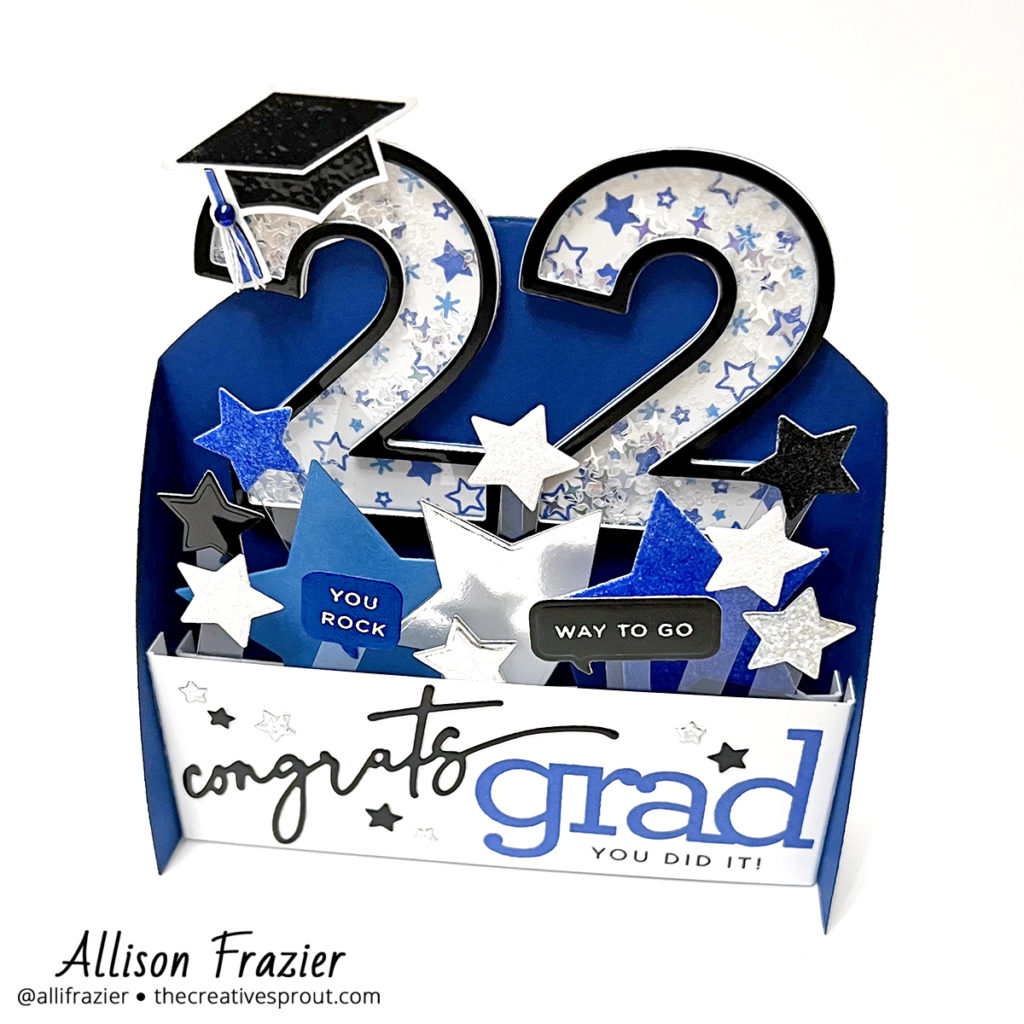
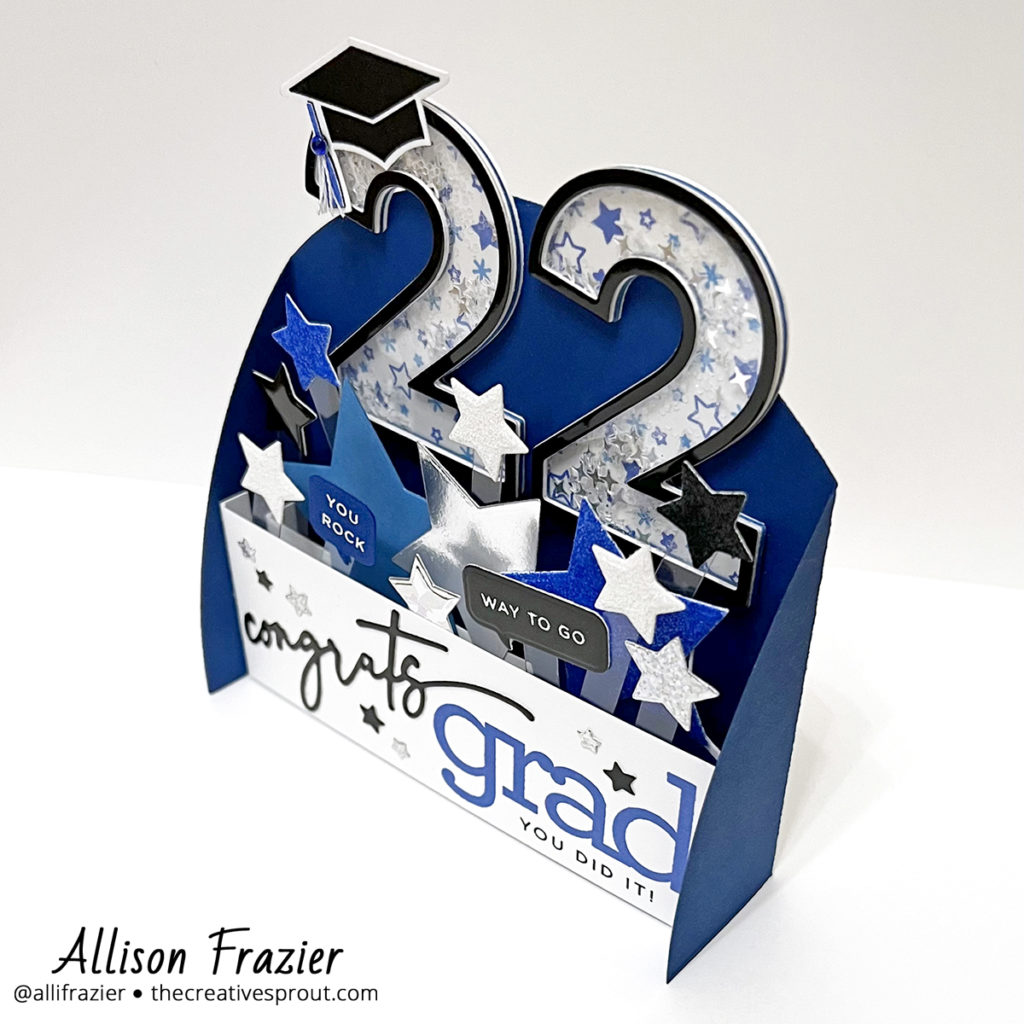
Hello, crafty friends! I know I’ve been a bit inactive lately, but I’ve been spending time with family celebrating my niece’s high school graduation. I wanted to hop on here and share the card that I made for her. This over-the-top card ALMOST reflects the immense pride that we feel for her!

Supplies
Concord & 9th – Card Stacks Base Die
The Stamp Market – Big Bold Numbers
CZ Design – Grad Party Stamp Set
Waffle Flower – Nesting Stars Die Set
Memory Box – Glossy Black Card Stock
Making the Card
This card may look very involved, but it all starts with the Card Stacks die set. The die set that I used is actually one that I received during the Concord & 9th Summer Camp 2021 event, but the version online that I linked above is exactly the same, except for the horizontal strips that you attach everything to. I actually made my own strips for this one because I needed to customize the height of that first strip to fit the wording the way I wanted. It’s super easy to customize, as it only requires scoring on each side of the strip.
For this card, I cut the main part of the die from a royal blue card stock and my strips from white card stock. I used Scor-tape to attach the strips, but before I did that, I attached all of my elements because it’s just easier that way.

The main star of the card, other than the display feature itself, is the big 22, which is actually also a shaker element. Why not, right? I have used these Big Bold Numbers from The Stamp Market several times before – I just love them. To make these numbers, I just took a bunch of assorted tiny star stamps from my stash and stamped them onto white card stock in various shades of blue. I used black glossy card stock for the outline. To make them into shakers, you just stack up several layers of the outline, fill it with tiny sequins, cut the solid number from acetate, and voila! I glued those to the back of the base, and I attached a little graduation cap that I made from the Grad Party Stamp Set.

The rest of the card relies heavily on the Nesting Stars dies from Waffle Flower. I cut a LOT of these in different sizes and from different card stocks. I used some glitter paper, glossy paper, holographic paper – you name it! I attached them to the back of the front panel, the front and back of the back panel, and also to the front panel itself. It’s very easy to make the smaller ones look like they’re floating – you just attach them to a thin strip of thick acetate.
For the front panel, I stamped the “grad” in royal blue ink. The various little sentiments also come from the same CZ Design stamp set. For two of the those sentiments, I used the “Let’s Chat” dies from Mama Elephant and attached them to acetate to make them float. I cut the “congrats” die from glossy black card stock.

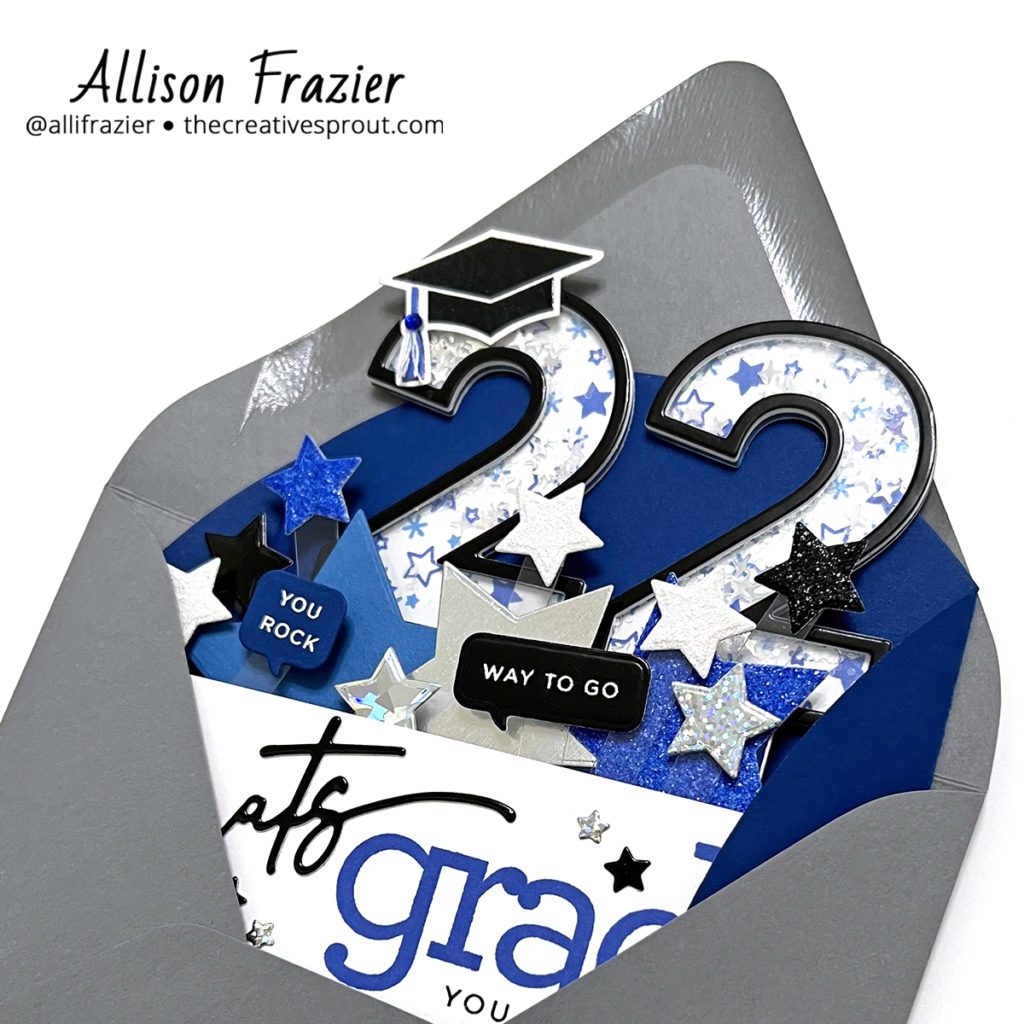
I love how the recipient can just take this card out of the envelope and be surprised by the fact that it stands up and can be displayed! It’s so fun!
That’s it for my card today. I hope it brings a smile to your face. Thank you so much for visiting and let me know in the comments if you have any questions.
Wishing you all a crafty day,
Allison
Note: External links on my blog may contain affiliate links. This gives me the opportunity to earn a small commission when you click on the links and place an order. This comes at no additional cost to you. Thank you so much for your support, as this helps me bring you more content.
