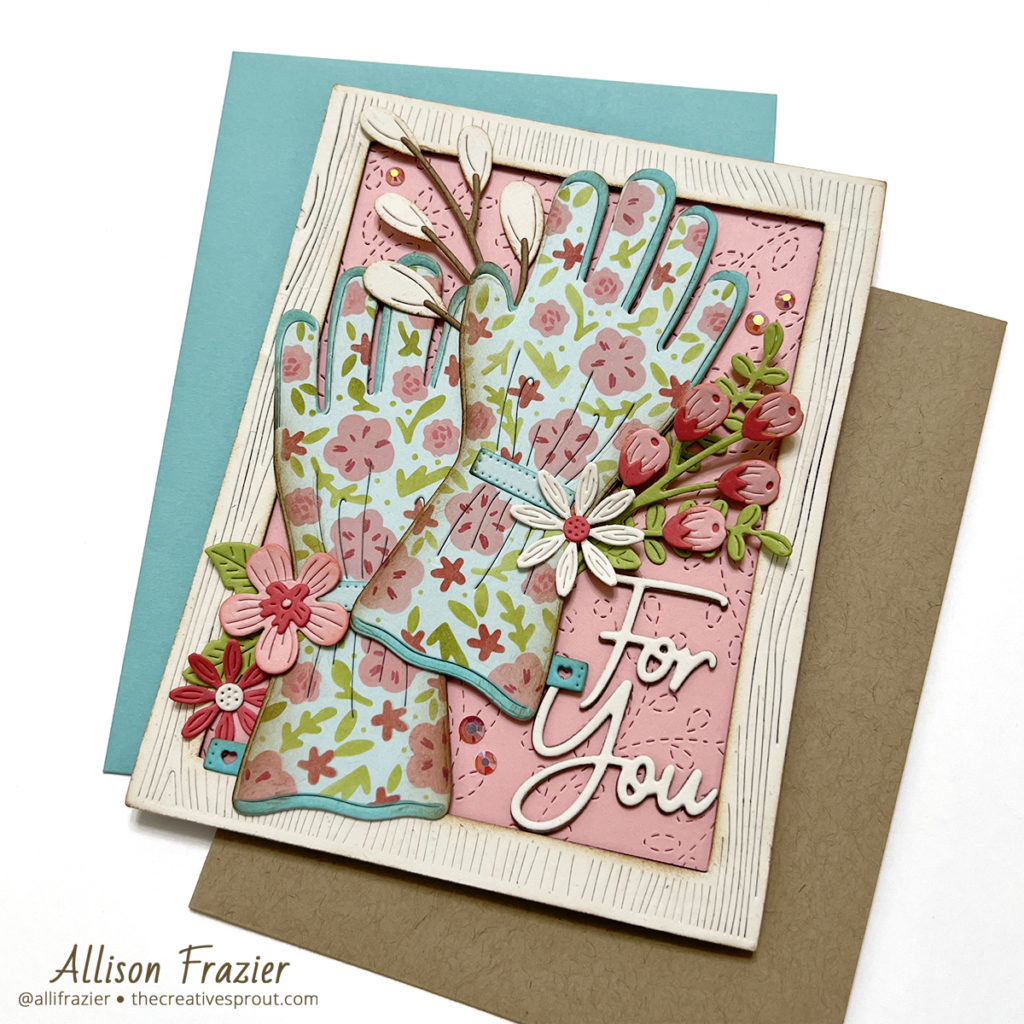
Hello, Friends! I hope you are all having a great week. Today I am sharing a card featuring the new Garden Gloves from The Greetery. I absolutely love these gloves, although I will admit that when it comes to plants and flowers, I do not have a green thumb. My husband comes from a family that loves gardening, so thankfully he knows what he’s doing. I do use garden gloves when I pull weeds, so there is that.

Supplies
The Greetery – Garden Gear: Glove Prints Stencil
The Greetery – Garden Gear: Gloves Die
The Greetery – Print Shop Daisy Days Stamp & Stencil
Spellbinders – Be Bold Blooms Die Set
Spellbinders – Mini Blooms and Sprigs dies
Spellbinders – Simply Perfect Mix & Match Sentiments Dies
Concord & 9th – Stitched Vines Card Front Die
Hero Arts – Wood Frame Infinity Dies
Pinkfresh Studio – Essentials Jewels Mix
Tim Holtz – Distress Oxide Inks
Waffle Flower – Blending Brushes
Making the Card
I first chose the base color of my gloves and then chose the Distress Oxide Inks that I would stencil the design with. I chose Saltwater Taffy, Fired Brick, Peeled Paint, and Salvaged Patina. Distress Oxides work great on top of colored card stock because the pigment ink properties of the ink make it opaque. The stencils make it really easy and fast to create the design, and then it’s really easy to line up the matching dies to cut the gloves out. Once I had them cut out, I mounted them onto a second layer for dimension, and then blended some Vintage Photo Distress Ink along the edges in order to give them an aged, somewhat dirty look. I also added some detail to the center of the flowers with stamps from the Print Shop Daisy Days Stamp. These gloves are just too cute!

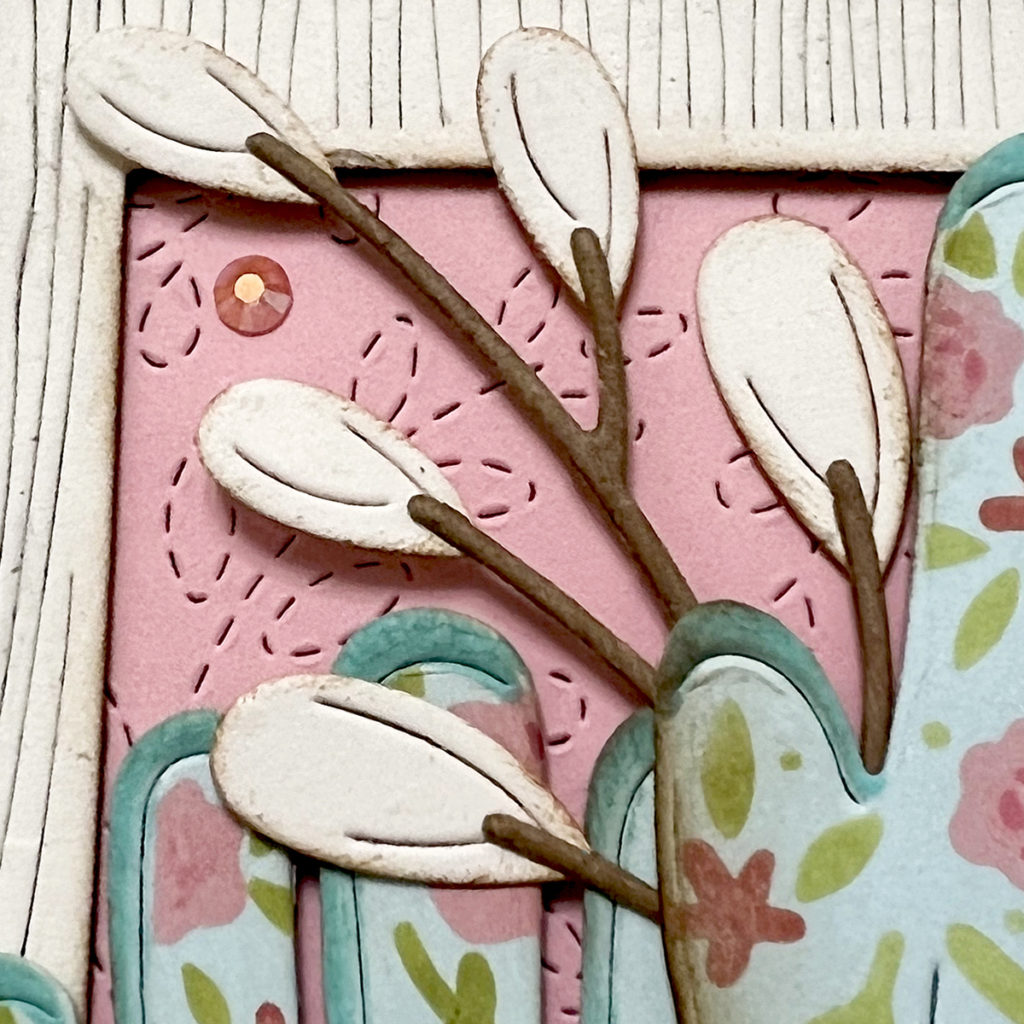
I played around with a LOT of different layout ideas, but all of them did include adding some of the Be Bold Blooms from Spellbinders here and there. I have had this set for awhile and have been wanting to use it. I also used a few elements from the Mini Blooms and Sprigs set. For the background, I chose to add some texture to my pink card base with the Stitched Vines Card Front Die from Concord & 9th. I love this die because it doesn’t cut the border, so you can just run your card base through your die cutting machine with this die. I wish more cover plates were like this! The frame, which I also distressed with Vintage Photo Distress Ink, is from the Wood Frame Infinity Die Set from Hero Arts.

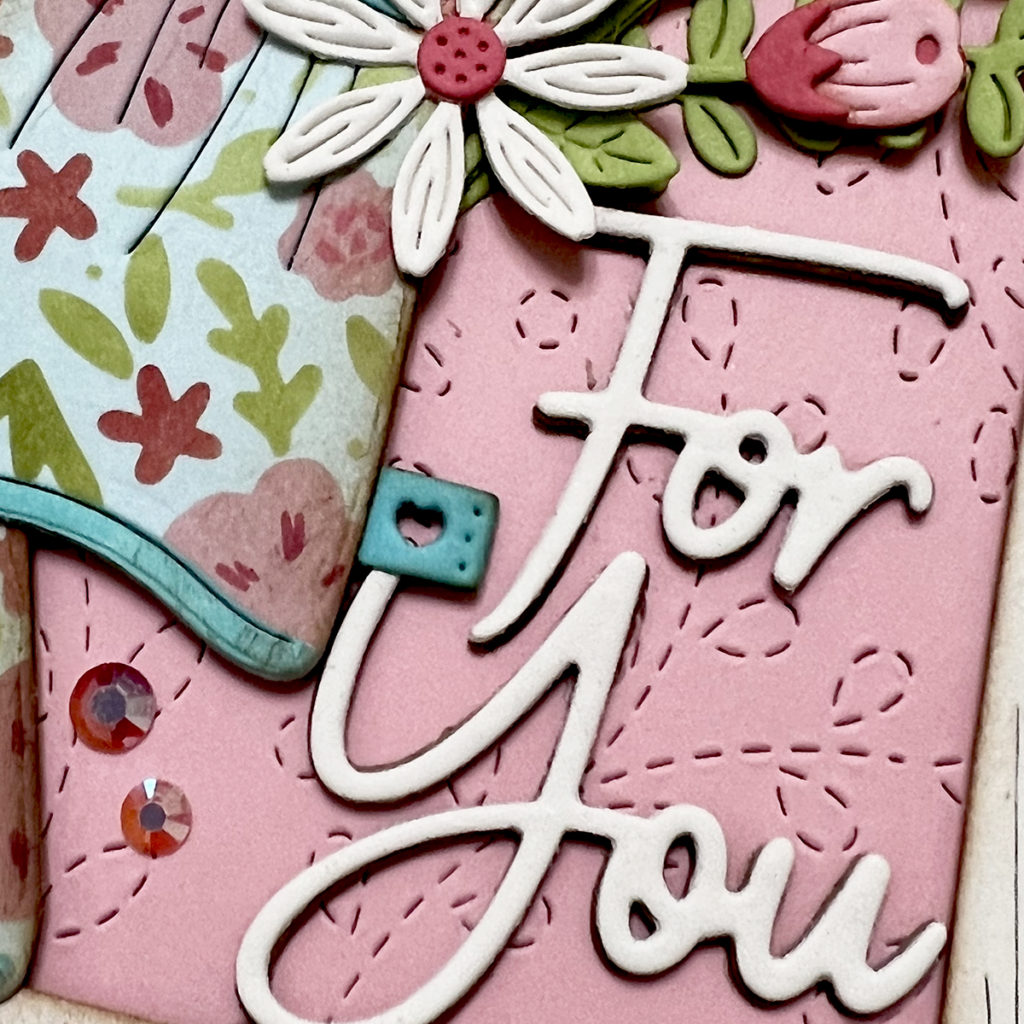
My sentiment is from the Simply Perfect Mix & Match Sentiments Die Set. I love, love, love the font of the words in this set, and I have been using it a lot lately. After adhering all of my elements to the card base (some with liquid glue and some with foam tape), I scattered a few pink jewels around the design.
I love how this card turned out, and I hope it put a smile on your face. Thank you so much for visiting today!
Wishing you all a crafty day,
Allison
Note: External links on my blog may contain affiliate links. This gives me the opportunity to earn a small commission when you click on the links and place an order. This comes at no additional cost to you. Thank you so much for your support, as this helps me bring you more content.
