Hello, crafty friends! Today I am sharing a couple cards that I made using some new solid hot foil plates from Spellbinders. Both of these plates, the arch and the diamond, have a set of nesting dies that match them. These dies provide a lot of design options, but I wanted to show some ways to use the plates on their own.

Card 1 Supplies
Spellbinders – Solid Diamond Hot Foil Plate
Spellbinders – Be Bold Blooms Die Set
Spellbinders – Yana’s Special Sentiments Hot Foil Plate
Spellbinders – Fashion Gold Embellishments
Spellbinders – Glimmer Hot Foil System
Making the First Card
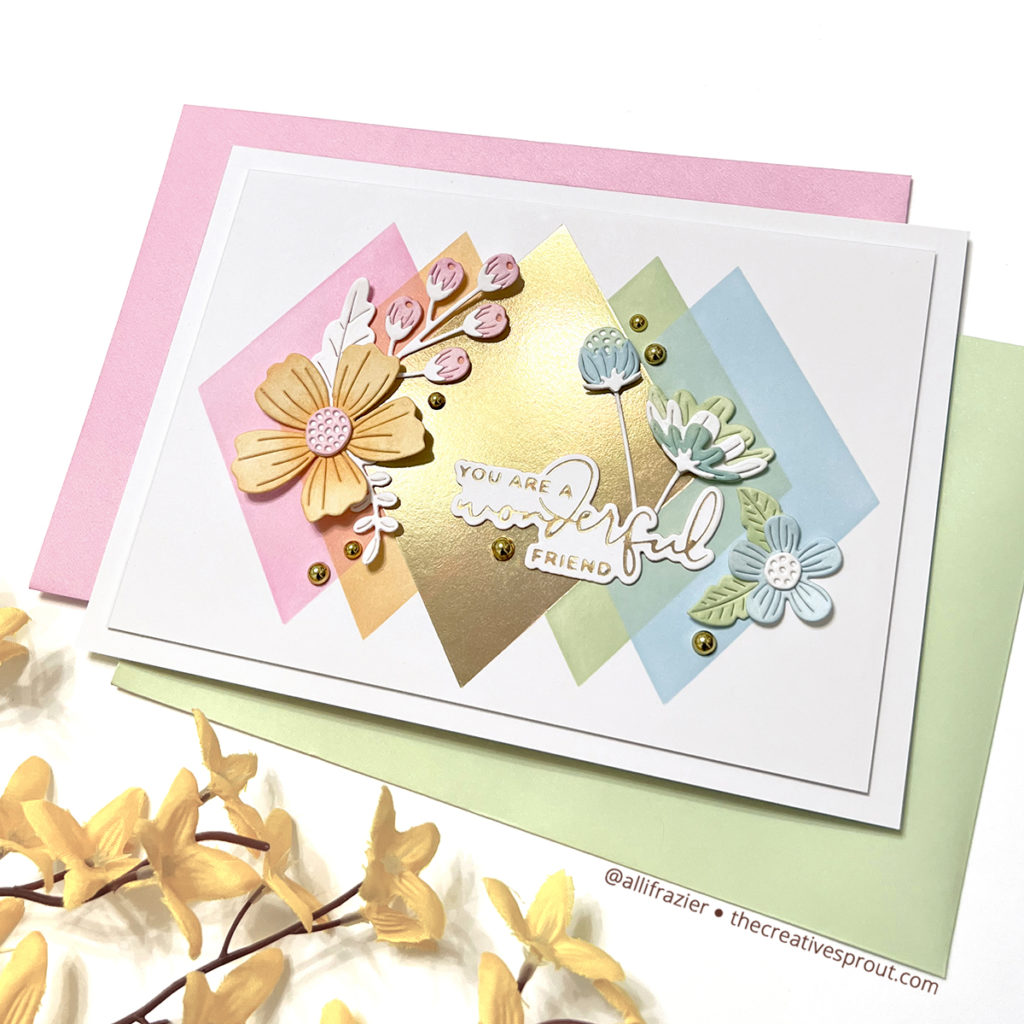
I first foiled the diamond onto a panel of white card stock with Aura hot foil. I was really impressed with how solid the results were! I’ve had a set of diamond stencils in my stash forever, and this card finally gave me the opportunity to use them. I used one of the stencils, which is slightly smaller than the hot foil plate, to blend two colors of ink on each side of the diamond. Hot foil acts as a resist to ink, so all you have to do is wipe the ink off of the foil when you’re done with your ink blending.
I used the Be Bold Blooms dies to cut a bunch of florals out of white card stock. I used the same inks that I used with the diamond stencil to color these die cuts, leaving some of them completely white. I foiled the sentiment onto white card stock with the same Aura foil as the diamond. I love how this sentiment has a matching die! I arranged the florals and the sentiment around the diamonds, adhering them with liquid glue. To finish the card, I added some gold embellishments.

Card 2 Supplies
Spellbinders – Solid Arch Foil Plate
Spellbinders – Bottle Brush Tree Die Set
Spellbinders – Holiday Decorations
Spellbinders – Color Block Scenic Scape Dies
Spellbinders – Mini Christmas Sentiment Strips Glimmer Hot Foil Plate
Spellbinders – Glimmer Hot Foil System
Making the Second Card
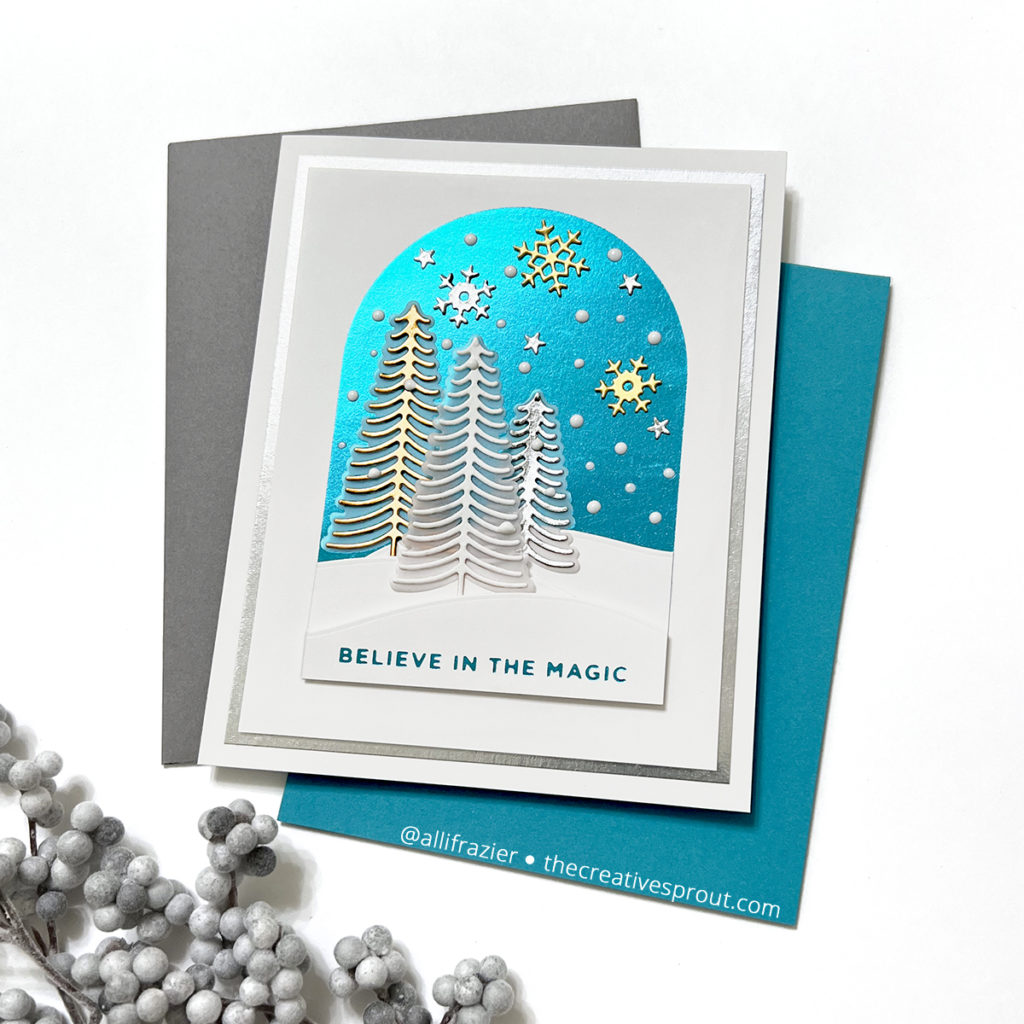
For my second card, I envisioned a snow globe using the solid arch foil plate. It’s more of a faux snow globe, since it’s neither dimensional nor is it a shaker card. I foiled the arch with teal hot foil onto a panel of white card stock.
I created some snow banks using the Color Block Scenic Scape dies and adhered them to the bottom of the arch. I foiled the sentiment onto the bottom snow bank with the teal foil and popped it up on foam tape. I used the Bottle Brush Tree dies to cut the three trees from gold, silver and white card stock. I cut the shadow dies for each tree from vellum. I cut some silver stars using dies from the Bottle Brush Tree set and some gold and silver snowflakes from the Holiday Decorations die set. I glued the trees, stars and snowflakes onto the scene and finished it off with some white Nuvo drops for the snow. I popped the main panel up onto a larger panel of silver card stock and then adhered that to a white card base.
I love how these cards turned out, and I hope they put a smile on your face! Thank you so much for stopping by today.
Wishing you all a crafty day,
Allison
Note: External links on my blog may contain affiliate links. This gives me the opportunity to earn a small commission when you click on the links and place an order. This comes at no additional cost to you. Thank you so much for your support, as this helps me bring you more content.
