Hello, crafty friends! I am thrilled to help introduce the new DieCember® 2022 collection from Simon Says Stamp!
DieCember® is similar to STAMPtember®, in that it is a month long celebration. Throughout the month, you will find inspiration that focuses on die cutting. To kick it off, Simon has released a bunch of beautiful, exclusive wafer-thin dies. I will be featuring a few of those dies, as well as a couple other new products.
Card 1 Supplies
Simon Says Stamp – Snowflake Curl Die
Simon Says Stamp – Nested Circles Die Set
Simon Says Stamp – Love Peace Joy Reverse Sentiment Strips
Memory Box – Rainbow Reflections Mirror Pad
Lucy’s Cards – Pearl Embellishments
Studio Katia – Majestic Confetti
Making the First Card
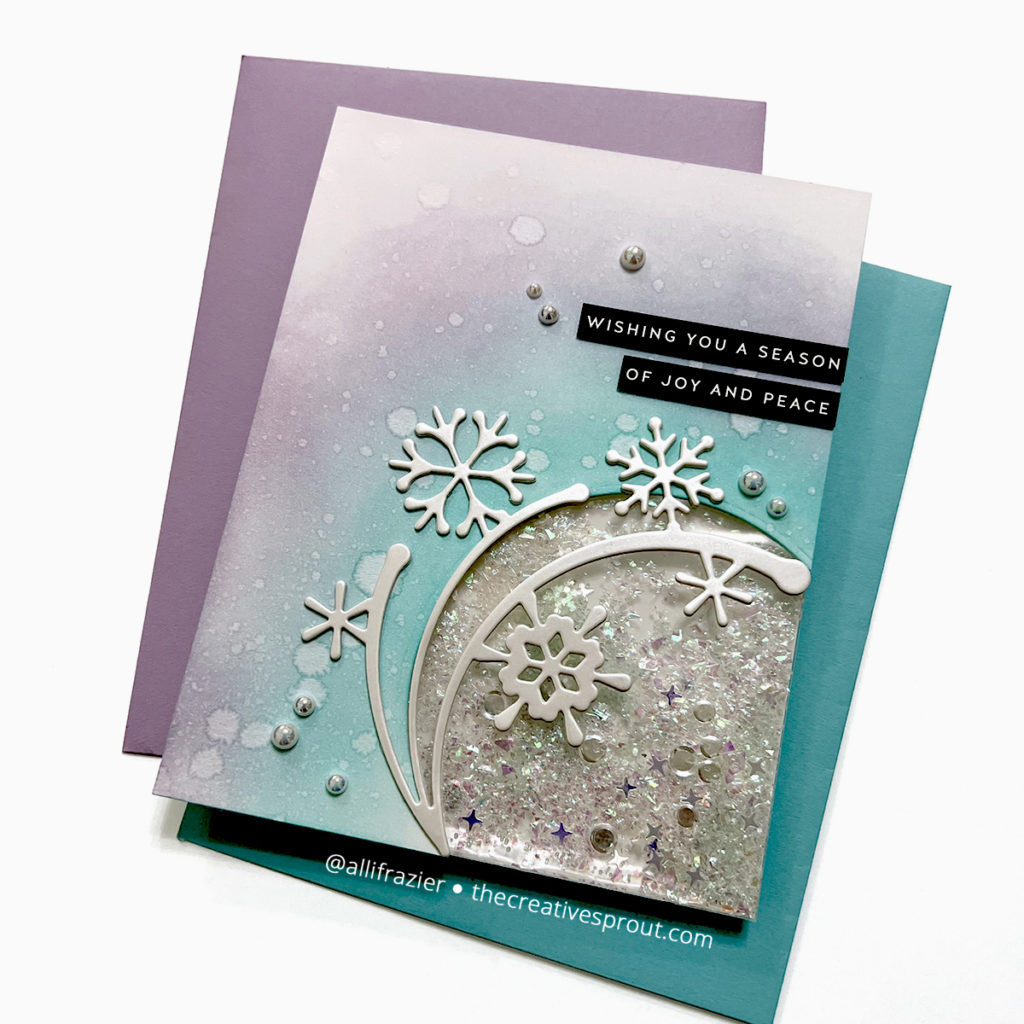
First up is this beautiful Snowflake Curl Die. I think this die is so fun and versatile. Although I did not do it for today’s cards, I love that you can cut it apart and have several different elements to work with. For my first card using this die, I made a shaker card. But it is a rather unique shaker card because the shaker element is kind of just a peek-a-boo type shaker. And, it was easy to achieve.
I started by cutting the die from some white specialty paper from Memory Box. A lot of the paper in this pad is mirror card stock, which makes you think of shiny paper. This white paper that I used has a matte sheen to it, and it’s almost a silvery white. Anyway, it really is beautiful. Next, I aligned the die along the lower right side of an A2 sized panel of white card stock to figure out where I wanted my cutout to be. I then took a circle die and cut out the piece from that corner. I blended some Distress Ink onto the panel and splattered it with some water drops. I used Salvaged Patina and Victorian Velvet.
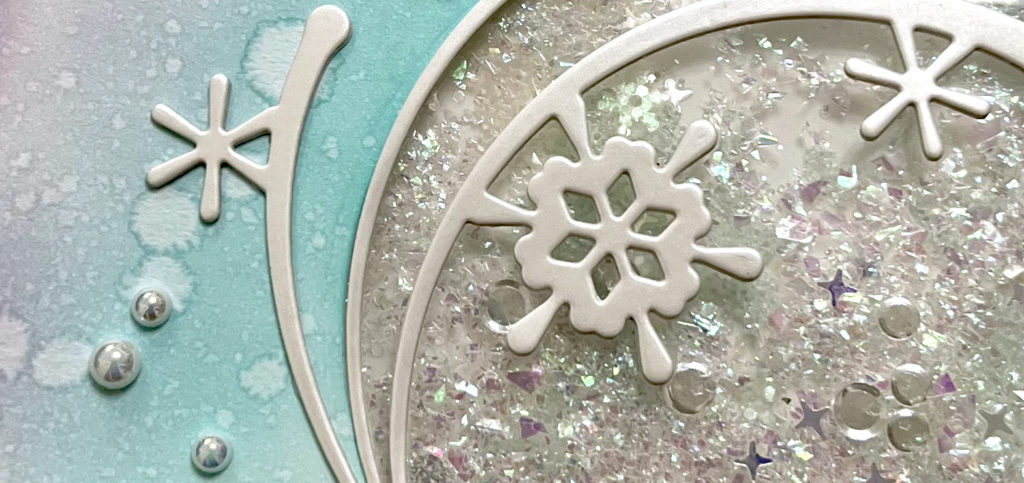
I then created my shaker element, which is simply a full (or “infinity”) shaker. I took some leftover packaging from a stamp set and wrapped it around a white A2 sized panel of card stock using Scor-tape. I left one side unsealed so that I could pour my shaker bits inside. I used a mix of different things – some Shaved Ice, some clear confetti, and other random clear bits from my stash. Once all of my shaker bits were inside, I could seal up the fourth side and then adhere it to an A2 card base. I adhered my ink-blended panel on top, and then I glued my Snowflake Curl on top of that, aligning the design with the circular opening. To finish the card, I added a sentiment strip that I cut apart so that it would be on two lines instead of one. I also added a few pearl embellishments around the card. I love how this turned out – it has a very ethereal look to it.
Card 2 Supplies
Simon Says Stamp – Snowflake Curl Die
Simon Says Stamp – Nested Circles Die Set
Simon Says Stamp – Luxe Glitter Card Stock
Simon Says Stamp – Holiday Greetings Mix 1 Stamp Set
Spellbinders – Nordic Ornament Die Set
Making the Second Card
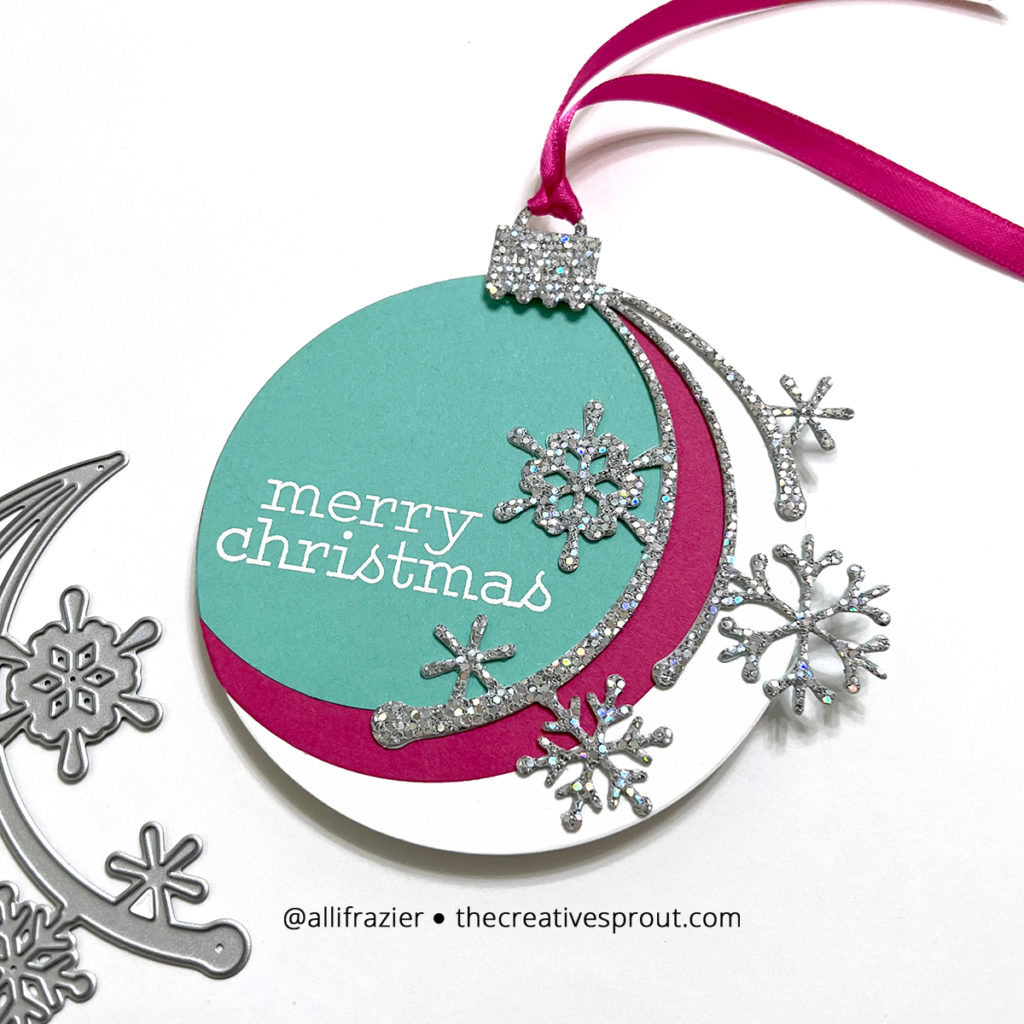
For my second card, I again embraced the circular flow of this Snowflake Curl die and made a round ornament. This can be a tag, an actual ornament, or an element to add to the front of a card. I started by die cutting my Snowflake Curl out of silver Luxe Glitter Card Stock. As you can see in the photo, this glitter card stock is magical! Next, I cut a large circle out of white, turquoise and pink card stocks. I laid my curl die on top of the white circle so that the shortest curl lined up with the outside of the circle. I then took some smaller circle dies and lined those up with the two other curls so that I knew where to cut my pink and turquoise circles. Once those were cut out, it was just a matter of adhering everything together. I white heat embossed the sentiment and then used the largest ornament topper from the Nordic Ornament set to make this look like an ornament. I threaded some pink satin ribbon through the topper, and voila! Simple, but fun.
Card 3 Supplies
Simon Says Stamp – Pointed Evergreens Die
Simon Says Stamp – Simple Holiday Greetings Stamp Set
Simon Says Stamp – Christmas Star Cling Stamp
Hero Arts – Unicorn White Pigment Ink
Neenah Desert Storm card stock
Tim Holtz – Snowfall Grit Paste
Tim Holtz – Guillotine Paper Trimmer
Making the Third Card
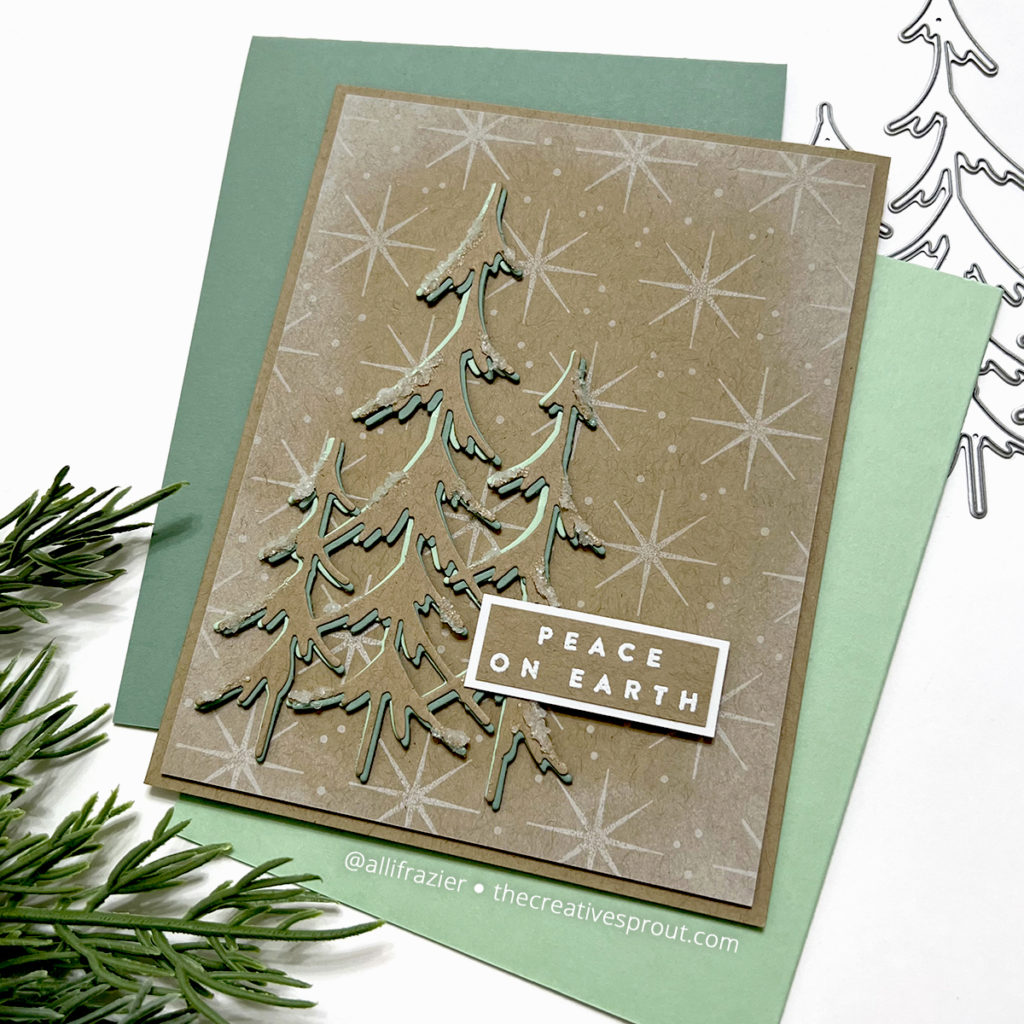
My third card features the new Pointed Evergreens die, which is a beautiful grouping of delicate trees. I embraced the natural beauty of this one and created a very muted, nature-themed card. I started with a panel of Desert Storm card stock and stamped the Christmas Star cling stamp with white pigment ink. I then ink blended some of the white ink around the edges and popped it up on an A2 panel made with the same card stock. I die cut the Pointed Evergreens three times – once from the Desert Storm card stock and then once out of two different shades of green card stock. I adhered these together, making sure that they all offset one another. I adhered it to the card panel and then added some “snow” to the branches using Snowfall Grit Paste. I stamped my sentiment onto Desert Storm card stock, trimmed it down, and then trimmed a slightly larger piece of white card stock to frame the sentiment.
Card 4 Supplies
Simon Says Stamp – Gift Card Pocket Envelope Die
Simon Says Stamp – Simple Holiday Greetings Stamp Set
Simple Stories – Baking Spirits Bright Paper Pad
Making the Fourth Card
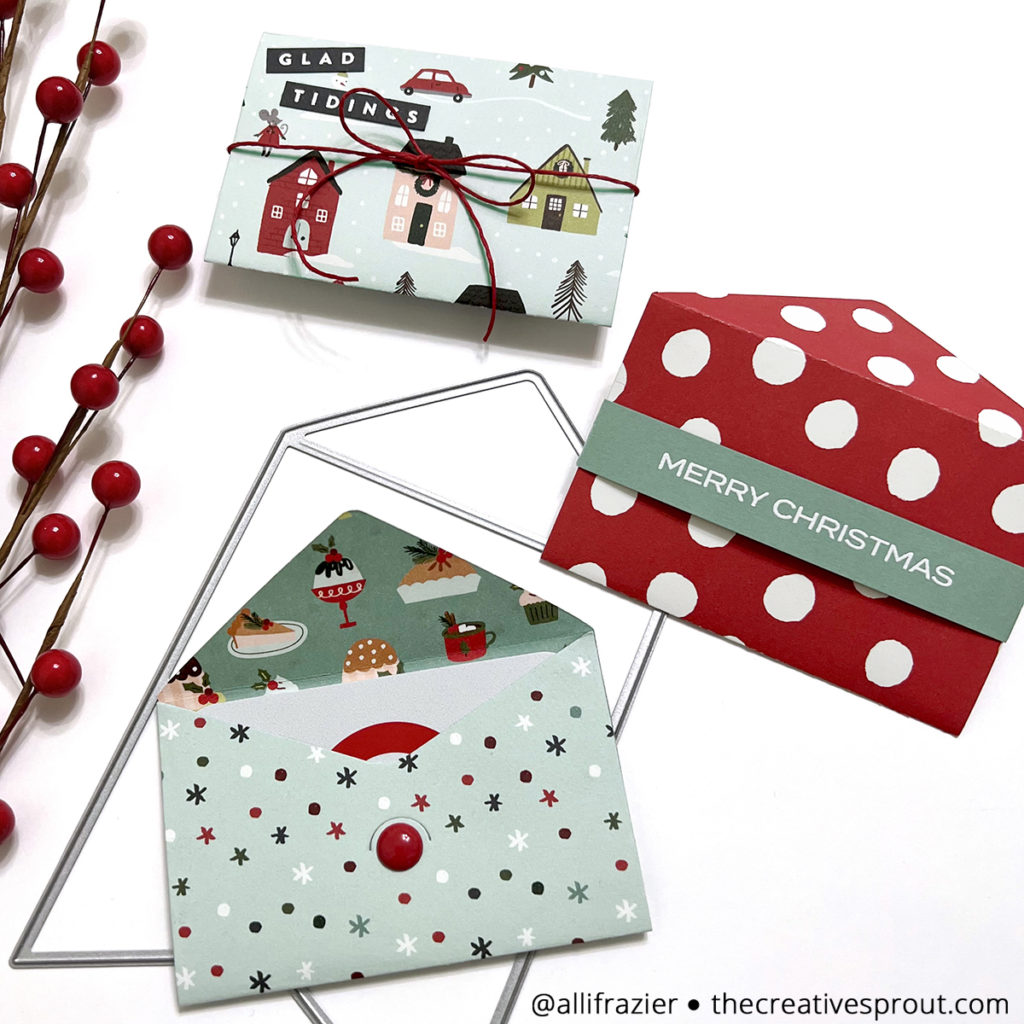
My fourth card isn’t actually a card – it is a bunch of gift card holders. I love gift card holders, and I love having a variety of dies to make it easy to create them. This new die makes the perfect little gift card envelope. The envelope folds up and tucks into a little slot to keep it closed. One thing to note about this is that the sides are open. For gift cards that are slightly smaller (such as Apple gift cards), you can seal up the sides of this holder with glue or double-sided tape, and the gift card will slide right in. For gift cards that are larger, you can just secure the gift card inside with removable adhesive. I also designed a couple different ways to close up the envelope.
These gift card holders are perfect to use with double sided patterned paper, since you will see the other side of the design when you open the envelope. So, I pulled out my new favorite holiday-themed paper pad and chose three different designs. As for my two ideas for closing up the envelope, I chose to tie a string around one of them and created a little belly band for another one. For the third envelope, I added a large enamel dot right where the slot is, and it looks really cute when the envelope is closed up – almost like the dot has sealed it closed. I stamped a couple different greetings for the front of the envelopes, and there you have it!
Card 5 Supplies
Simon Says Stamp – Dimensional Rectangles Stencil Set
Simon Says Stamp – Eucalyptus Leaves Die
Simon Says Stamp – Greetings Mix 1 Stamp Set
Tim Holtz Guillotine Paper Trimmer
Making the Fifth Card
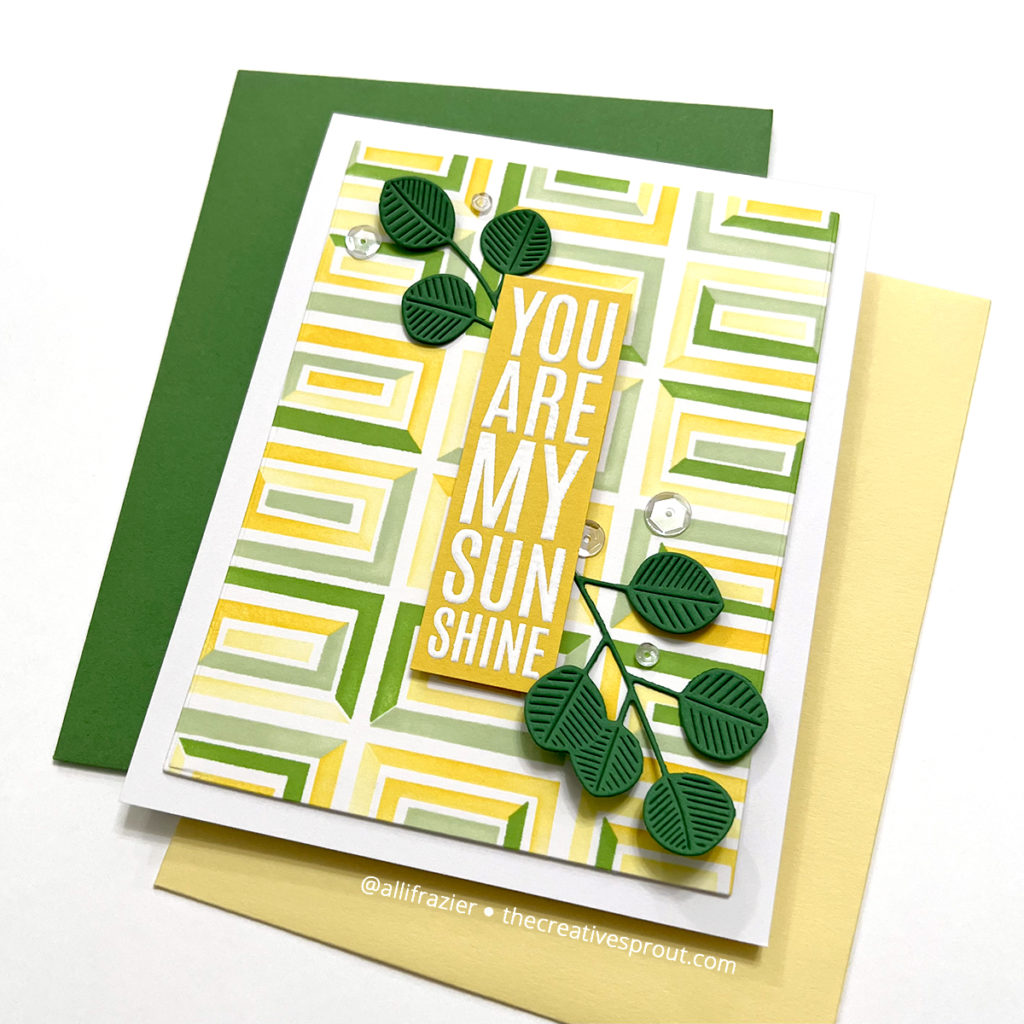
My fifth card features the new Dimensional Rectangles layering stencil set. This set is so cool and has such a different look depending on what color combination you use. I used a more monotone palette for my first attempt, using some green and yellow Pinkfresh Studio inks. I used Key Lime, Fresh Pear, Lemon Whip, and Marigold. There are four stencils, so one color for each stencil. Easy peasy! I just cut my panel down to 3.5″ x 5″ and popped it up on a white A2 card base. I stamped my sentiment onto yellow card stock with VersaMark and heat embossed it with white embossing powder. I trimmed it down with my paper trimmer and popped it up on foam tape in the center of the panel. To embellish it, I added some green Eucalyptus Leaves die cuts and some clear sequins.
Card 6 Supplies
Simon Says Stamp – Dimensional Rectangles Stencil Set
Simon Says Stamp – Large Outline Thanks Die
Simon Says Stamp – Pawsitively Velvet Luxury Cardstock – Shades of Blue
Making the Sixth Card
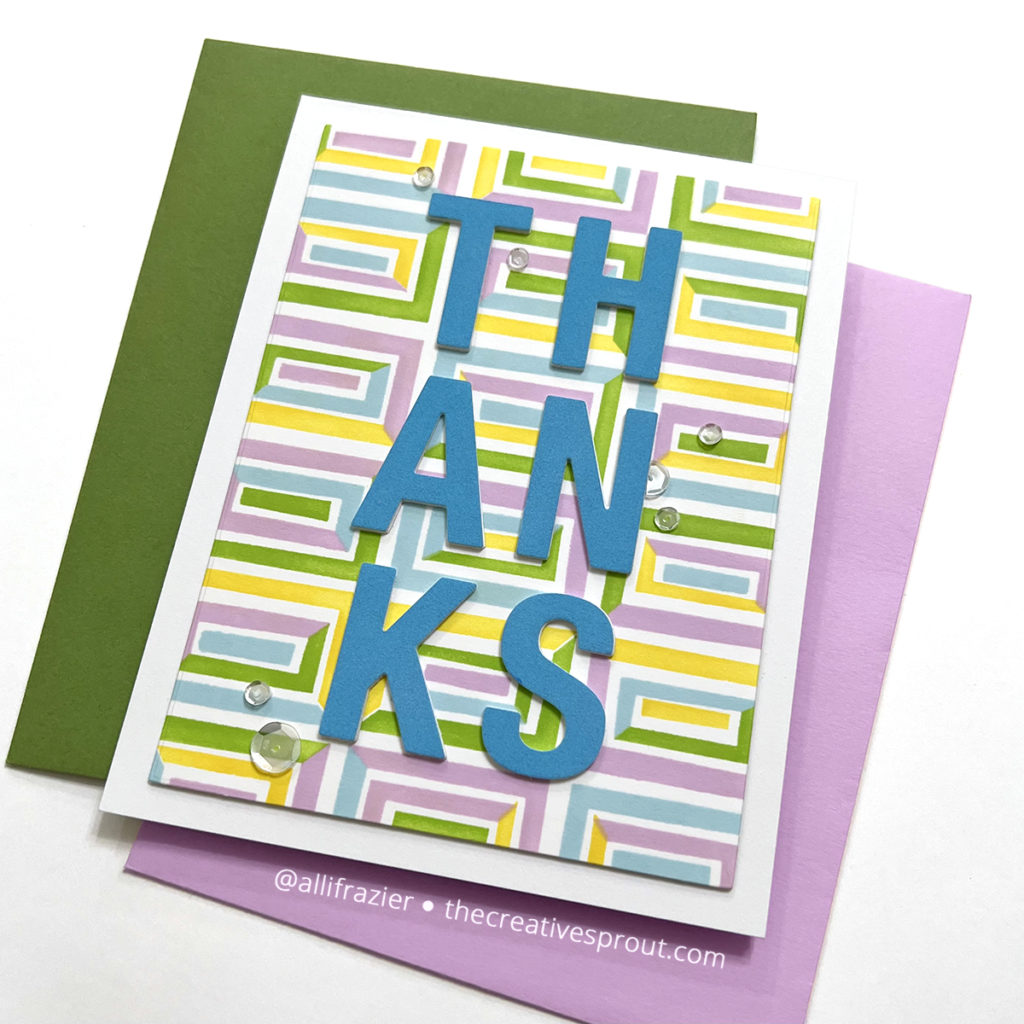
My sixth card features a different color scheme with the Dimensional Rectangles Stencil Set. I used four Pinkfresh Studio inks again – Sweet Mustard, Grassy Knoll, Sky Blue, and Soft Lilac. I kept this card pretty simple by die cutting the Large Outline Thanks Die and using just the bold letters from it. However, I did step it up a bit by using the new Velvet Luxury Card Stock Shades of Blue pack. It’s hard to tell from a photo, but this card stock adds so much texture and interest to the card. I finished my card with some clear sequins.
Card 7 Supplies
Simon Says Stamp – Sweet Tooth Bears Stamp Set
Simon Says Stamp – Layering Peppermints Stencils
Pink & Main – Gingerbread Kisses Stamp Set
Pink & Main – Gingerbread Kisses Die Set
Tim Holtz – Distress Oxide Inks
Hero Arts – Unicorn White Pigment Ink
Waffle Flower – Mini Stencil Mat
Making the Seventh Card
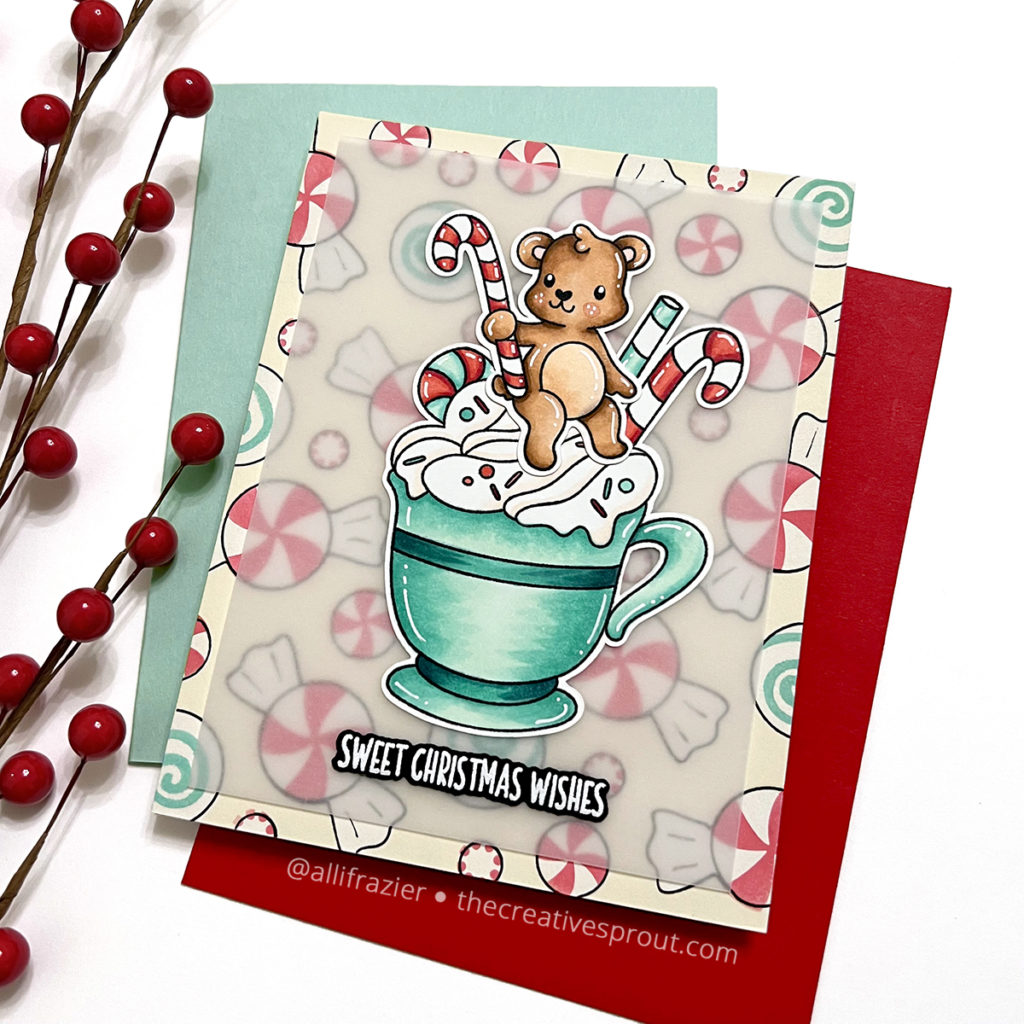
My last card features the adorable Sweet Tooth Bears Stamp Set. I stamped the mug and one of the bears and colored them with a combination of Copic markers and some of my new OLO markers. There is a matching die set, but I don’t have it, so I fussy cut the two images out. I though it would be fun to pair these images with the Layering Peppermint Stencils that came out in the last release. I chose a cream colored card base and blended my inks right on the front of the card base. I used white pigment ink, Festive Berries Distress Oxide, and Salvaged Patina Distress Oxide for my stenciled design. I also decided to do something that I don’t usually do, and that is to outline the stenciled design with a thin black marker. I just traced the outlines of the actual stencils, which was really easy. I thought it would give more definition to the peppermint candies, while also tying it in with the black outlines of the stamps.
To make the stamped images stand out from the background, I chose to mount them on a piece of vellum that I cut down to 3.75″x5″. Once I glued them onto the vellum, I then put foam tape on the back of the vellum to adhere it to the card panel. I white heat embossed the sentiment from Pink & Main and cut it out with the matching die.
And there you have it – those are all of my cards for DieCember®, although I’m sure I’ll be creating more with these products as the month goes along. I hope they put a smile on your face and inspire you to pull out your die cutting machine and create! Be sure to check out all of the new dies and products from the DieCember® release – I have already added a bunch to my wish list. Leave a comment and let me know what your favorite product from the new release is.
Wishing you all a crafty day,
Allison
Note: External links on my blog may contain affiliate links. This gives me the opportunity to earn a small commission when you click on the links and place an order. This comes at no additional cost to you. Thank you so much for your support, as this helps me bring you more content.

Wowser! Absolutely gorgeous cards!💜🤗
Thank you so much, Gretchen!