Hello, friends, and Happy New Year! Can you believe it’s 2023?? The beginning of each month always brings new club kits from Spellbinders. But this month is special. 2023 is bringing some new club offerings. Plus, it is my first time designing with the clubs! I will be designing with the Small Die of the Month and the new 3D Embossing Folder of the Month kits, and I’m super excited! Also, if you’re a fan of stitching, you should check out the brand new Stitching Die of the Month kit. If you’re not familiar with the Spellbinders clubs, I encourage you to check them out. Of course, they are a great value, but I think one of the major benefits over other clubs/subscriptions is that you can cancel at any time and rejoin if/when you want.
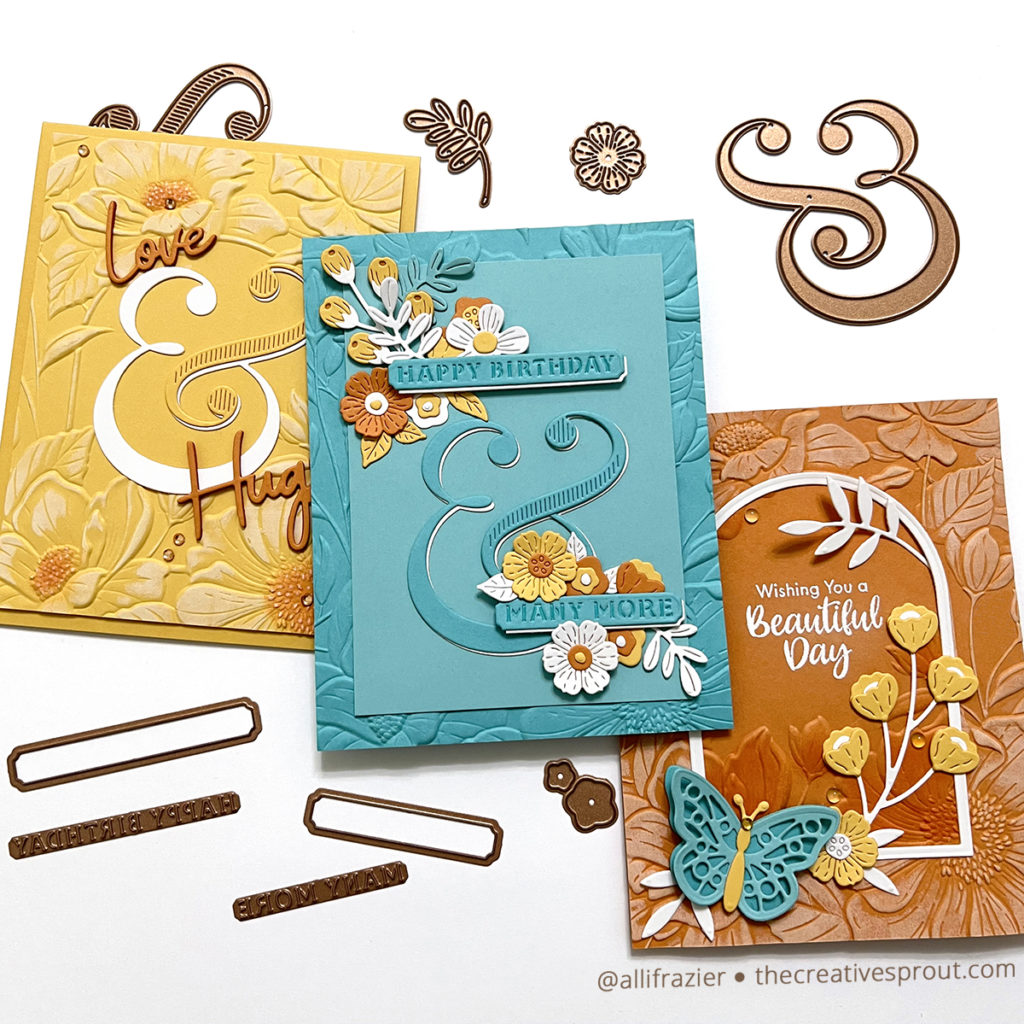
The Small Die of the Month set for January is the “Sentimental Ampersand.” I love this ampersand and how versatile it will be as part of my stash going forward. (Stay tuned for how I use it tomorrow) There are also a bunch of small floral dies, sentiments, and sentiment strip dies.
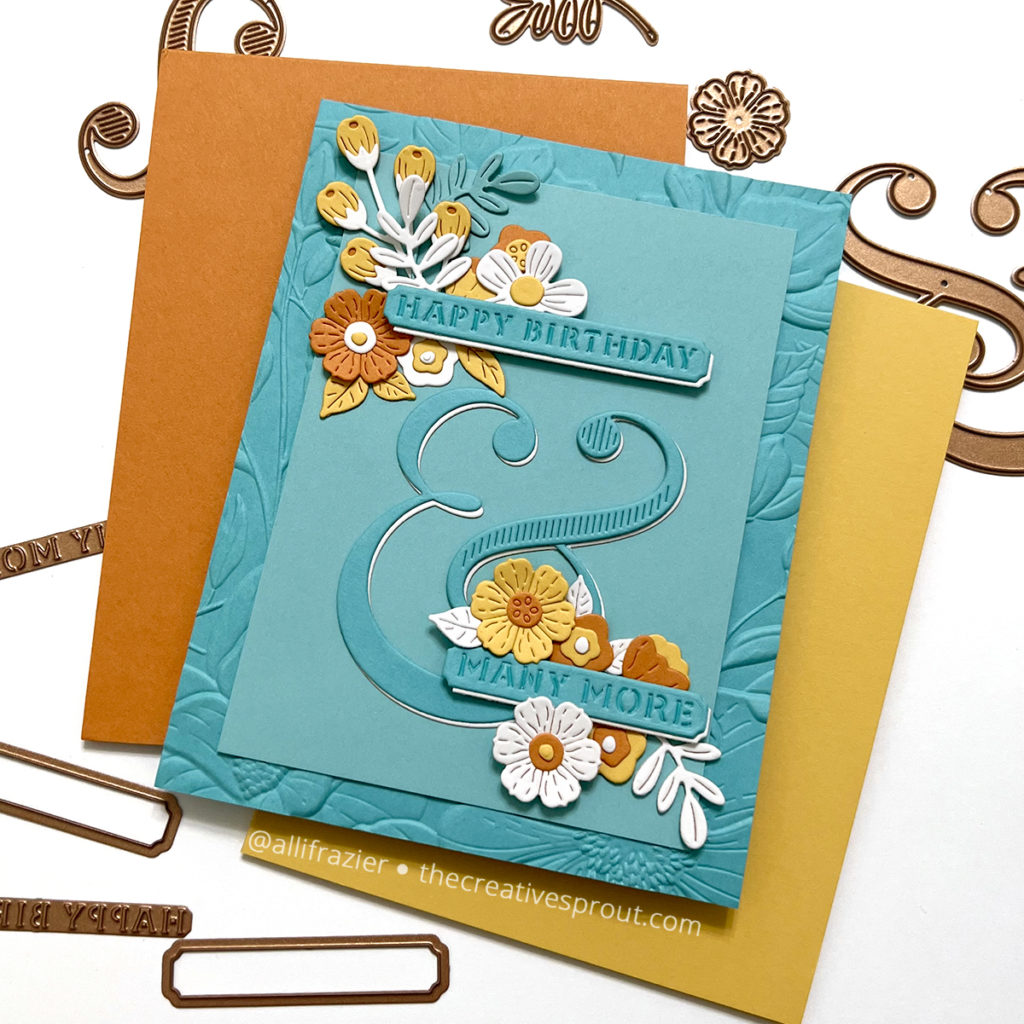
Card 1 Supplies
Spellbinders – Small Die of the Month Club – Sentimental Ampersand
Spellbinders – 3D Embossing Folder of the Month – Floral Archway
Spellbinders – Be Bold Blooms Die Set
Spellbinders – Platinum 6
Spellbinders – Universal Plate System
Bearly Art Glue
Making the First Card
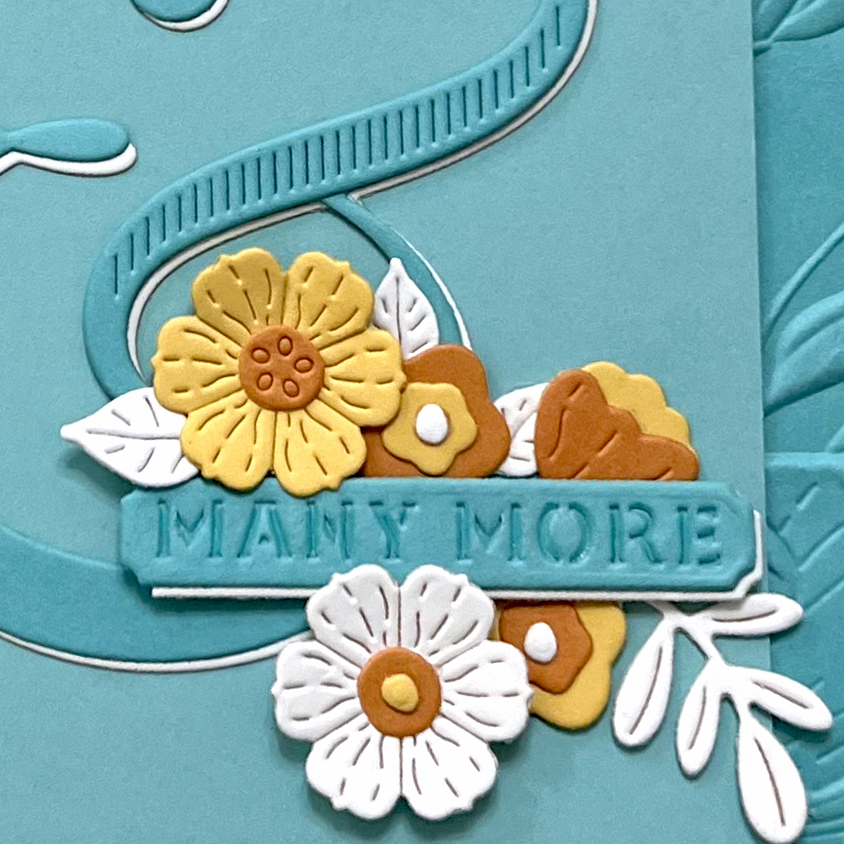
As you can see from my supply list, I made this card almost entirely from the two club kits. The only things I added were a few floral elements from the Be Bold Blooms die set. The star of this card is the small die of the month kit. There are several sentiment combinations that come in the set – I love the debossed look of the sentiments. You can see part of the new 3D embossing folder as the border on this card – you’ll see more of it on the next two cards. For all three cards, I stayed within the same color palette of turquoise, orange, yellow and white. I love these colors together.
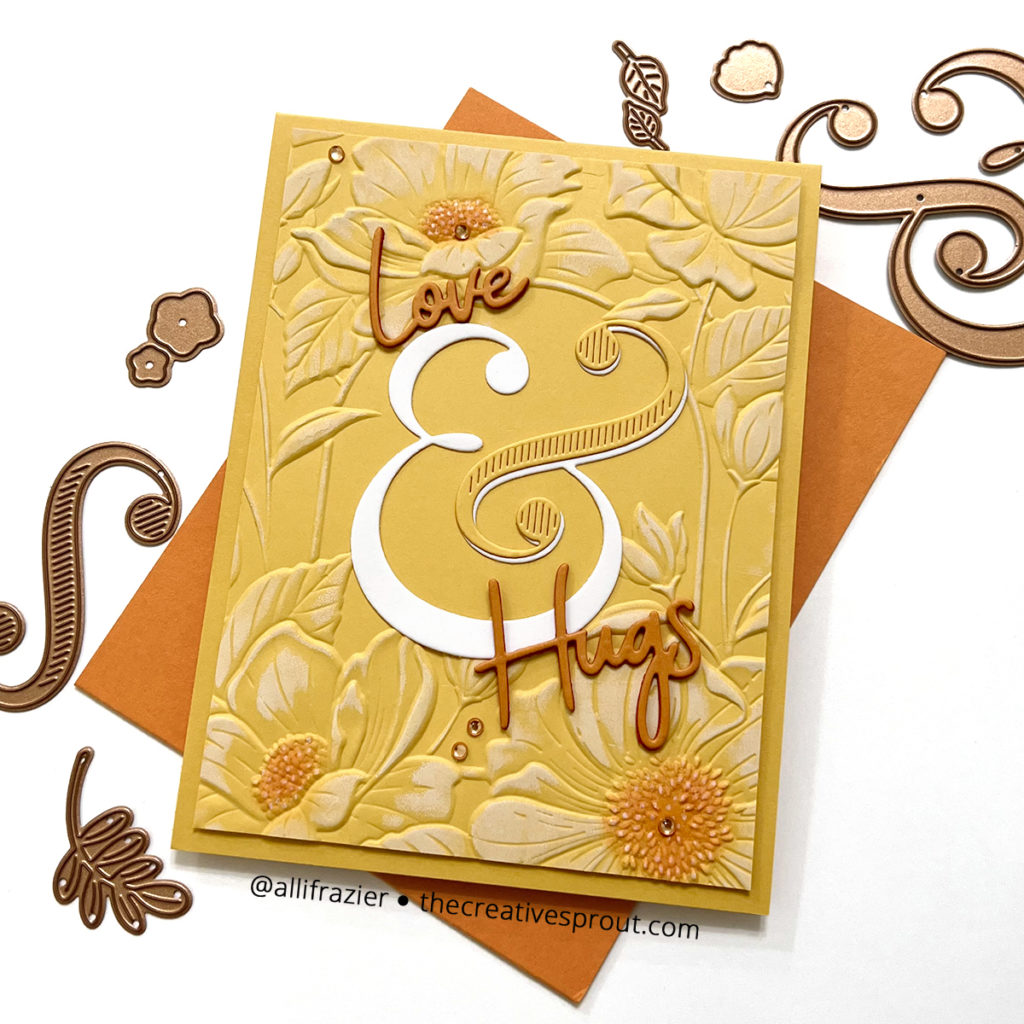
Card 2 Supplies
Spellbinders – Small Die of the Month Club – Sentimental Ampersand
Spellbinders – 3D Embossing Folder of the Month – Floral Archway
Spellbinders – Simply Perfect Mix & Match Sentiments Dies
Hero Arts – Unicorn White Pigment Ink
Tim Holtz – Brayer
Spellbinders – Platinum 6
Spellbinders – Universal Plate System
Detail Blending Brushes
Bearly Art Glue
Making the Second Card
This card shows off the new 3D embossing folder called “Floral Archway.” For 3D embossing folders, you can play around with the sandwich that you use in your die cutting machine. But, if you want the best results, the Universal Plate System is great and removes the guesswork. These plates are sold separately if you already have a Platinum 6 machine. They are also included with the new machines.
For this card, I embossed a yellow piece of card stock with the Floral Archway folder. I then took a brayer and ran some white pigment ink over the raised areas. This really accentuates the dimension that 3D embossing folders give. I also took a small blending brush and blended some orange ink over the centers of the flowers. Finally, I added some very small white dots over this orange ink with a white colored pencil. Once I was done with the embossed part of the card, I added the ampersand and the sentiments, and then I scattered a few gems around the design.
Card 3 Supplies
Spellbinders – Small Die of the Month Club – Sentimental Ampersand
Spellbinders – 3D Embossing Folder of the Month – Floral Archway
Spellbinders – Essential Arches Die Set
Spellbinders – Be Bold Blooms Die Set
Spellbinders – Butterfly Card Creator Die Set
Spellbinders – Tiered Tray Sentiments Stamp Set
Hero Arts – Unicorn White Pigment Ink
Tim Holtz – Brayer
Spellbinders – Platinum 6
Spellbinders – Universal Plate System
MISTI
Detail Blending Brushes
Bearly Art Glue
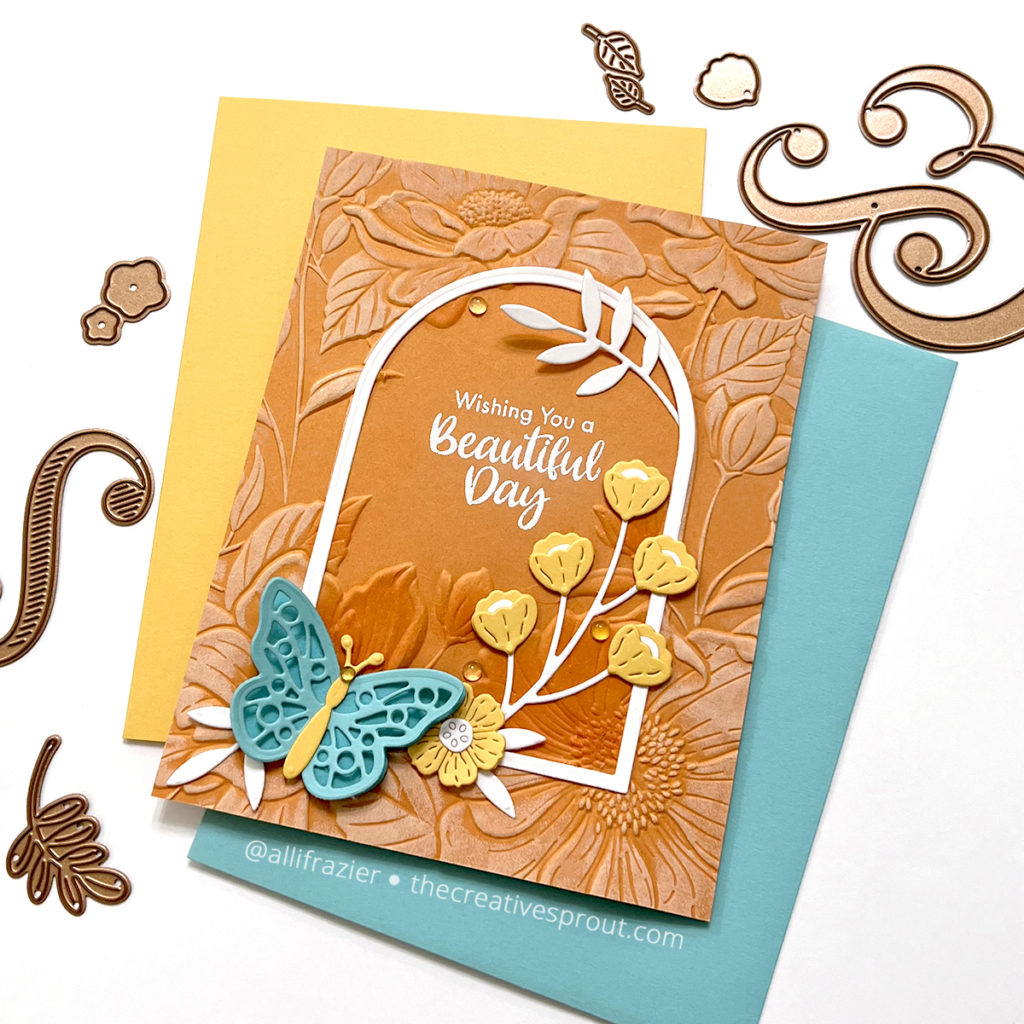
Making the Third Card
For this card, I wanted to embrace the “arch” in the Floral Archway embossing folder, so I added a frame around the arched area in the center. I made the frame with a couple dies from the Essential Arches die set. I masked off the area inside the arch and ran a brayer with white pigment ink over the raised, embossed areas on the outside edge of the card. Once the white ink was dry, I masked the outside edges off and blended some orange ink onto the raised edges inside the arch.
I added some floral elements from the Small Die of the Month kit, as well as a couple elements from other sets, including the Be Bold Blooms set and an older Small Die of the Month set called Colorblock Landscape.
I stamped the sentiment from the Tiered Tray Sentiments set with white pigment ink and heat embossed with white embossing powder. Finally, I added a few clear drops around the card.
That’s it for my cards today! I had a lot of fun making these, and I hope they put a smile on your face. Be sure to check out all of the clubs on the Spellbinders website. There are some really great value bundles when you purchase more than one of the club kits. Thank you so much for stopping by today.
Wishing you all a crafty day,
Allison
Note: External links on my blog may contain affiliate links. This gives me the opportunity to earn a small commission when you click on the links and place an order. This comes at no additional cost to you. Thank you so much for your support, as this helps me bring you more content.
