
Hello, friends! The 2024 STAMPtember® celebration from Simon Says Stamp has started! As always, Simon is kicking things off with its own brand new collection. If you’re not familiar with what STAMPtember® is, it is a month long celebration of stamping and creating. Simon Says Stamp kicks off the celebrations each year by releasing their collection of goodies on September 1st. Throughout the month, they also release exclusive products that are made in collaboration with other companies. These are always hot commodities, and once they’re gone, they’re gone! The Simon-branded products that are released at the beginning of STAMPtember® do not go away, although they may briefly go out of stock at the beginning of the celebration.
I have several cards that I have made with some of the new products, and I will be sharing more as the month goes on. So stay tuned!
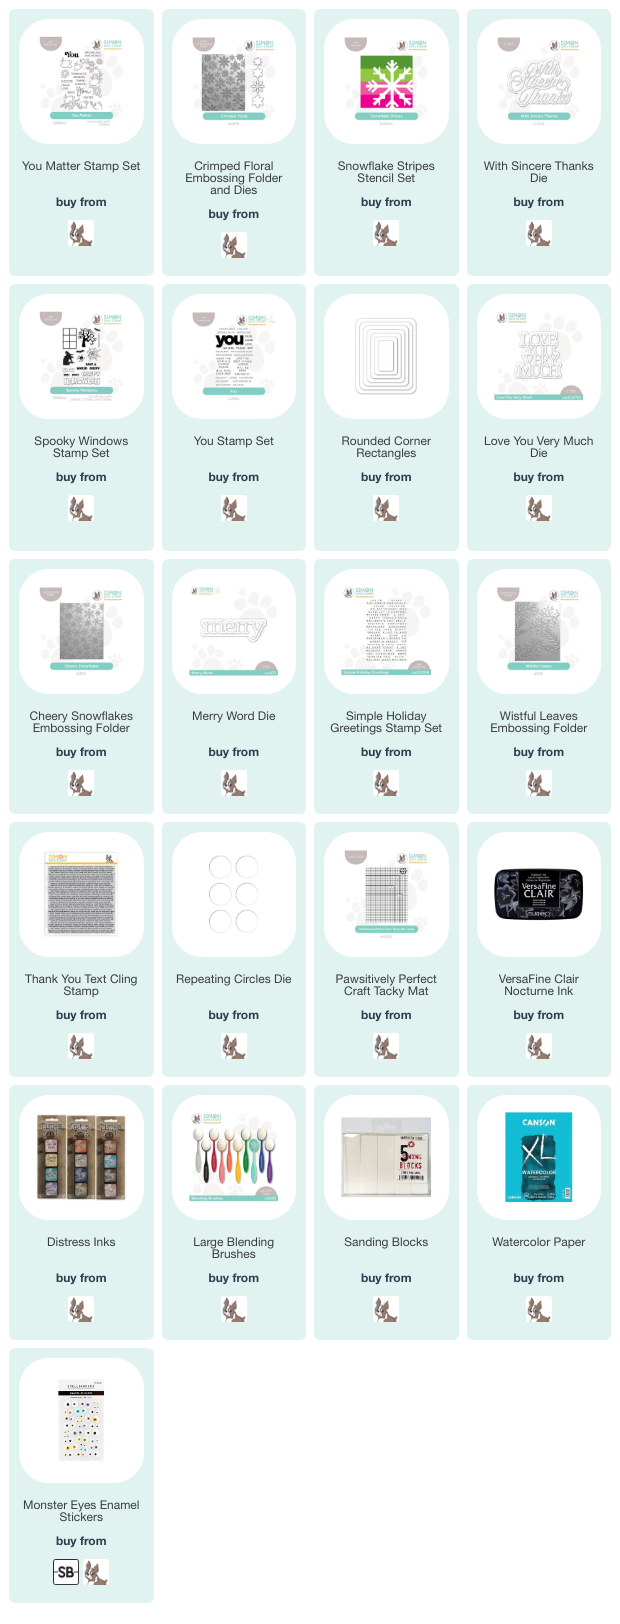
NOTE: all supplies are linked in the thumbnails at the end of this blog post.
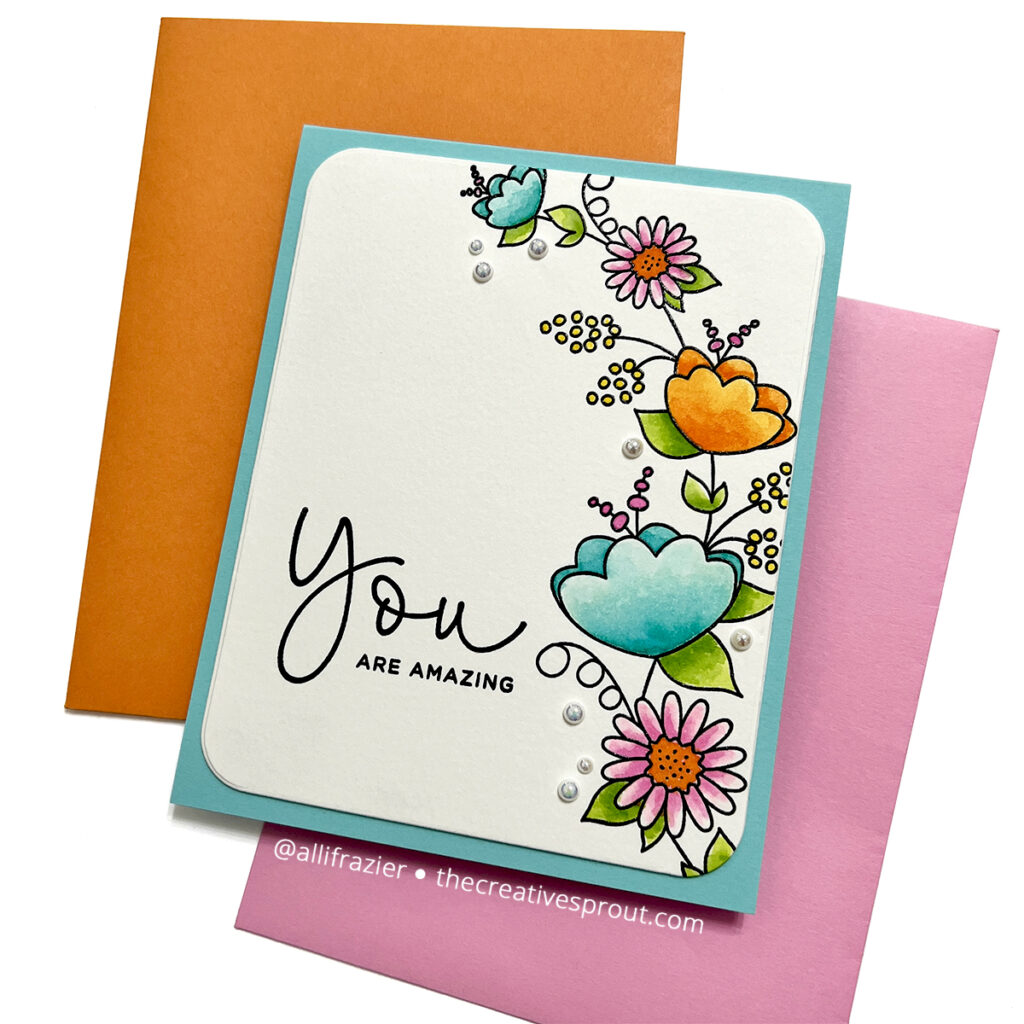
My first card features the You Matter stamp set. I stamped and embossed the largest image from the set onto a piece of watercolor paper using black pigment ink. I then used my Distress Inks to watercolor the image. I also stamped and embossed the sentiment. The “You” word comes from the same stamp set, but I picked a smaller subsentiment from the You stamp set that was released last month. I used the largest die from the Rounded Corner Rectangles set to cut the panel down, and then I adhered it to a turquoise card base.

My next card features the Snowflake Stripes Stencil Set. This set has three stencils, two of which create the striped pattern that you see on my card. When you ink these up, you end up coloring everything but the snowflake (i.e., the snowflake is masked). The third stencil is the large snowflake itself. I will be sharing some cards that I made with that third stencil tomorrow.
For this card, I first inked up the two stencils with my four colors. To hold my paper and stencils in place while I was stenciling, I used the new Pawsitively Perfect Craft Tacky Mat. Once I was finished stenciling, I ran the panel through the Cheery Snowflakes Embossing Folder. I used a sanding block to sand off a little bit of the color from the snowflakes.
The word die that I used is the Merry Word die. This does come with a shadow die, but I just cut the detail die from turquoise card stock and stacked it a few times for dimension. I stamped the subsentiment from the Simple Holiday Greetings Set. I did partial stamping for this, since the stamp from that set actually says “merry & bright.”

My third card features the Crimped Floral Embossing Folder and Dies. I embossed a panel that I had previously created using Dylusions Ink Sprays. If you want to see how I created this panel, you can CLICK HERE to watch the video. Just like with the previous card, I used a sanding block to sand off the highest points of the embossed design. I cut some of the flowers using the matching dies, and then I popped these flowers into the embossing folder to emboss them. It’s really easy to pop these flowers into the corresponding openings in the folder. Once they were embossed, I swiped just a little bit of color across the raised edges using my Distress Inks.
I took another panel that I had made with the Dylusions Ink Sprays and cut the Love You Very Much die from it. I cut the shadow layer from an off-white piece of cardstock – the same color as the card base.

My next card features the new With Sincere Thanks Die. This is a delicate word die that is just so pretty when adhered to its shadow layer! For the background, I stamped the Thank You Text stamp onto light green card stock with green ink. I then embossed this panel with the Wistful Leaves Embossing Folder. I swiped some of the green ink across the raised edges of the larges leaves.

My last card is a fun card featuring the Spooky Windows Stamp Set. Instead of using the rectangular window from the set, I used the Repeating Circles Die to create windows. I colored a plain piece of cardstock with various colors that would show through these windows. I then stamped the various images from the stamp set onto this panel using black pigment ink. I glued the repeating circles panel on top and then adhered the entire panel to a black card base. I fussy cut the Halloween word and colored the letters with the same colors that I used for some of the windows. Finally, I added some fun enamel eyes to the skull.
I hope you’re excited for more things to come this month. Be sure to check out all of the other goodies and inspiration from the new STAMPtember® Release ! As always, I appreciate you visiting my blog today.
Wishing you all a crafty day,
Allison
SUPPLY LIST
Note: External links on my blog may contain affiliate links. This gives me the opportunity to earn a small commission when you click on the links and place an order. This comes at no additional cost to you. Thank you so much for your support! You can see more information on my Affiliate Disclosure page.
All of these are terrific… I love the first one best.
Lori S in PA