Hello, friends! I hope you have been enjoying your week. The weather here in Colorado is finally starting to cool down, and I am so excited. This is my favorite time of year, for sure. In anticipation of the holidays, I have created two really beautiful holiday cards that I made with some specialty paper. This specialty paper is from the Your Paper Insider Box 8. Your Paper Insider is a subscription based service, where you receive four “mystery” boxes a year. They also sell some of their specialty paper in separate packages. I’m sending a big thank you to the folks at Your Paper Insider for sending me the box to play with. I have absolutely been loving these boxes. As a card maker, paper comes first, right??
For today’s cards, I will be using some of the specialty paper from Box 8, and I will be hot foiling it! So, if you’ve ever wondered what to do with your specialty paper, this is a really great way to use it.
Let’s get to the cards that I made! I have a new video sharing the process for both cards. You can CLICK HERE to view on YouTube or watch it below.

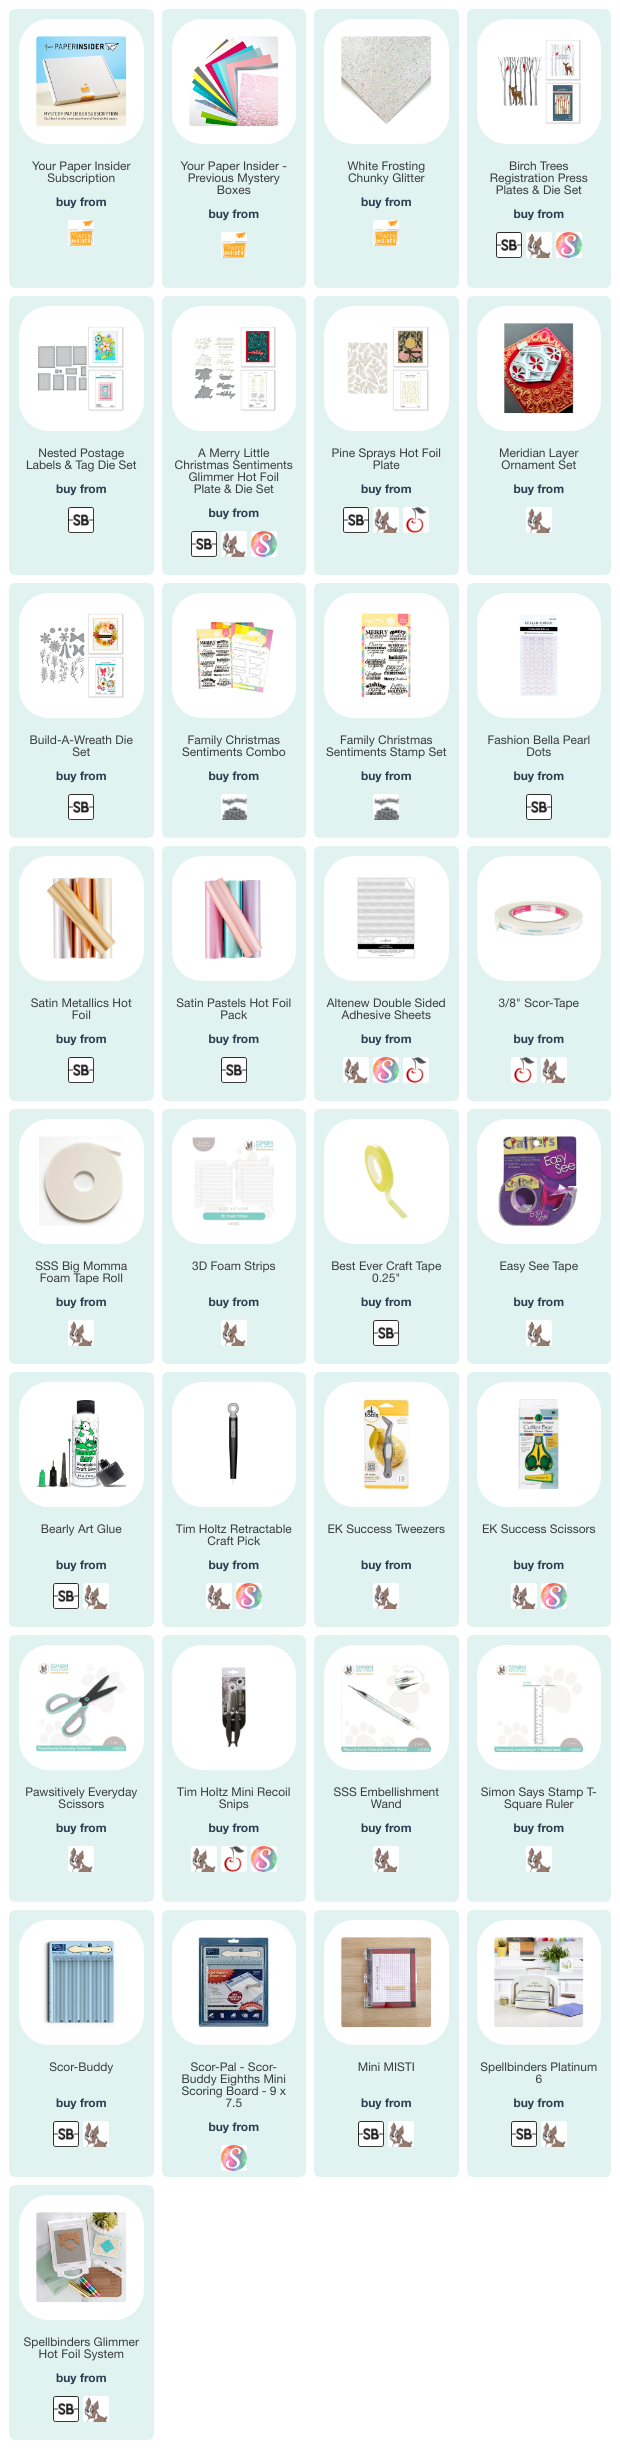
NOTE: all supplies are linked to multiple sources in the thumbnails at the end of this blog post.

For my first card, I used the Birch Trees Registration Press Plates. These trees are all separate plates, so you really could arrange them however you want. But I wanted to show how to use the included registration template with hot foiling. Many of you may already know that I use press plates for foiling, as opposed to using them with inks. They work beautifully both ways! My video shows the whole process I used for foiling with these separate plates. I really love the results! I used three different colors of satin/matte hot foil, which are my favorite types of foil to use.
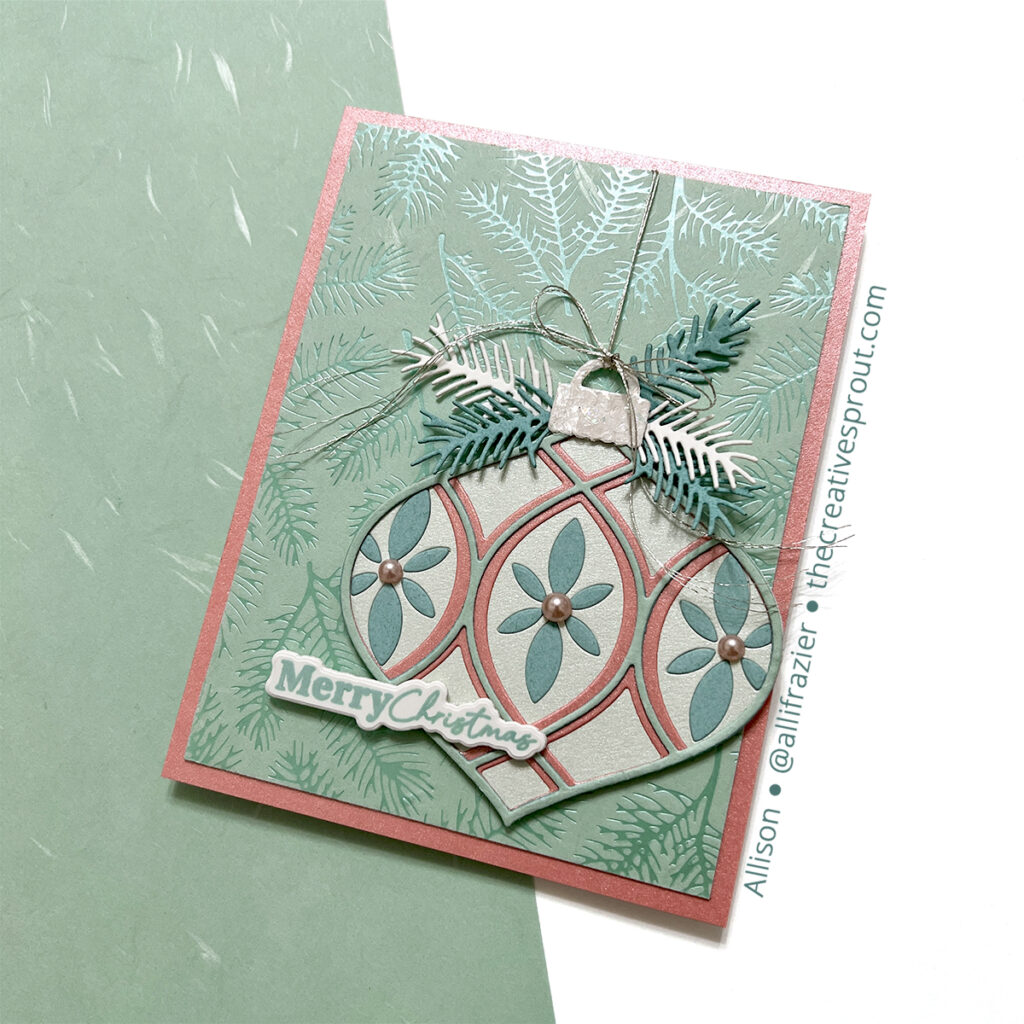
My second card features the Pine Sprays Hot Foil Plate and this beautiful mint green rayon paper from Box 8. You can see a sheet of the paper in the photo above. And you can see how gorgeous the foil turned out! The ornament is the Meridian Ornament Layer Set from Birch Press Design. They always have the most beautiful layering ornaments, and they’re so easy to create. You just cut the three layers from three different colors of cardstock, and the result is magical. Again, be sure to watch the video to see how this card came together!
I hope these cards bring a smile to your face today. As always, I appreciate you visiting my blog!
Wishing you all a crafty day,
Allison
SUPPLY LIST
Note: External links on my blog may contain affiliate links. This gives me the opportunity to earn a small commission when you click on the links and place an order. This comes at no additional cost to you. Thank you so much for your support! You can see more information on my Affiliate Disclosure page.