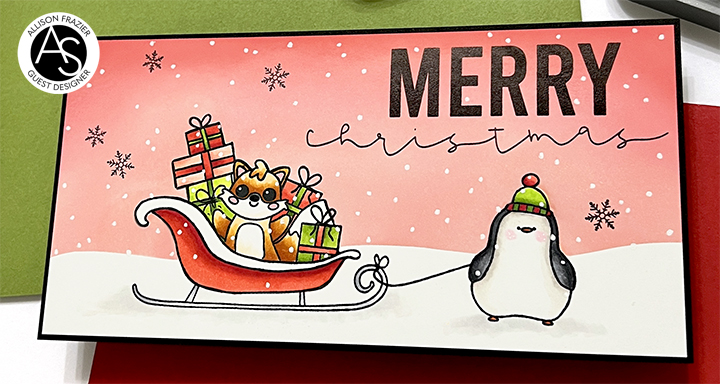
Hello, friends! I am back to share more cards that I have made with the amazing new October release from Alex Syberia Designs. Today’s main card, which features the adorable new Smile More stamp set, is part of a Video Hop on YouTube! CLICK HERE or the image below to get to YouTube to start hopping for your chance to win one of four gift cards! Be sure to read the description on YouTube for all of the details. I do have other cards to share with you today, as well, and you can see those below, along with all of the details.
Note: all supplies are linked in the thumbnails at the end of this blog post.
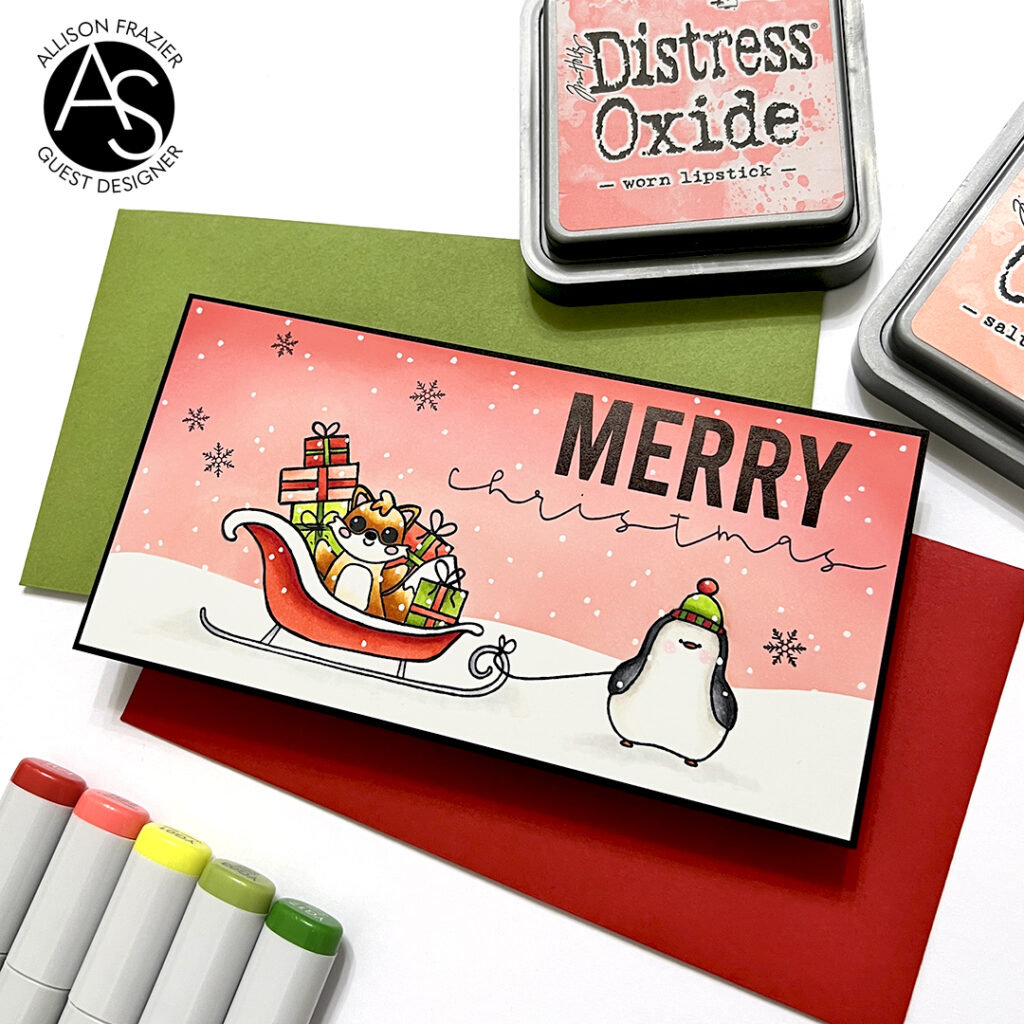
For today’s card, I really wanted to do something that I haven’t done in a long time – create a one layer card using masking. The new Smile More Stamp Set has such adorable images, including the penguin and the fox that are on my card. You know I love holiday cards, so I instantly knew the scene I wanted to create. I pulled out another stamp set called ‘FaLaLa Friends’ to help create my scene. The sleigh and the presents are from that set.
I stamped all of my images onto masking paper and then fussy cut them. Masks are so important in creating one layer scenes like this! Rather than try to explain the steps in writing, I will encourage you to watch the video to see how I built this scene. NOTE: In my video, I switch between my MISTI that holds my Waffle Flower grip mat and my MISTI that doesn’t. Of course you do not have to have two MISTIs. I could have easily removed the grip mat from my MISTI for the portion of this card where I wanted to use the magnet instead. But I do highly, HIGHLY recommend using the grip mat in your MISTI if you haven’t tried it already. It will change the way you stamp.
I colored the images using my Copic markers in the following colors:
- Fox: YR24, YR27, E00, RV10
-
Presents: R20,22,24,29; YG 01,03,17
-
Sleigh: R22,24,29
-
Penguin: C3, C7, N6
-
Hat: YG 01,03,17; R29
After coloring my images, I masked everything off again, including the snow at the bottom, and ink blended the sky with Distress Oxide ink. I used Saltwater Taffy, Worn Lipstick, and Festive Berries. To finish up, I stamped my sentiments and some snowflakes and then added more “snow” with a white gel pen. The sentiments are from the Christmas Sentiments Stamp Set. The stamped snowflakes are from the FaLaLa Friends set. I did go over some of the stamped lines with a thin black pen, which clearly wasn’t thin enough! I may have gotten a little heavy handed with it and made some of the lines way thicker than the original line. I think the cute critters are a good distraction, though!

I really love how this card turned out, and I’m so proud of myself for making it work! Can you believe that there are no die cuts on this card?? I admit that I almost turned those sentiments into die cuts. I even created some die cut snowflakes. But, I was committed to the one layer card idea, and I resisted the temptation!
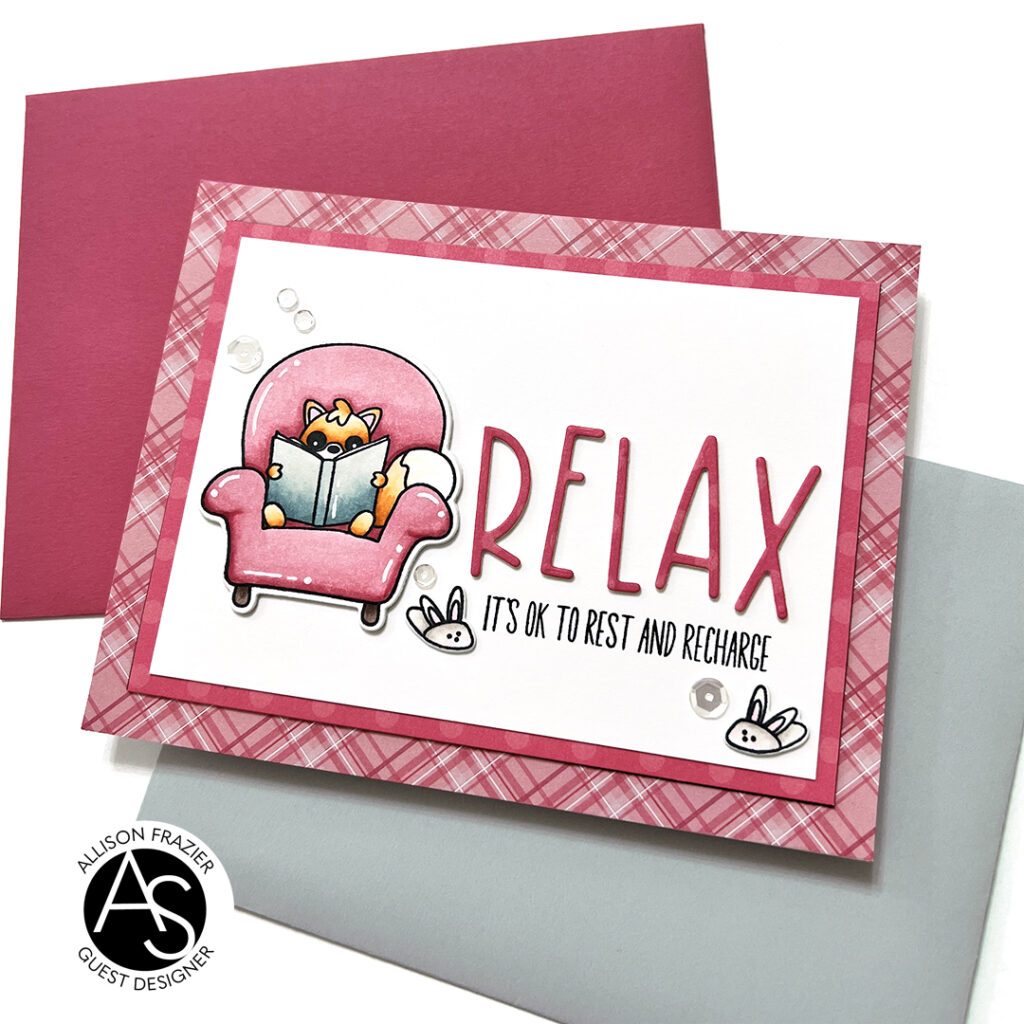
Before creating my one layer card, I created the adorable card above using the same Smile More stamp set. After coloring the image (see colors below), I used the matching die to cut it out (as well as those adorable slippers!) and popped them up on my panel. The stamped sentiment comes from that same set, but the RELAX comes from one of my favorite alphabet sets – the Foxtrot Alphabet Die Set. I cut the letters from an older piece of patterned paper (the same polka dot paper that I mounted the white panel to). I then mounted everything onto a card base that I had prepped with a piece of plaid paper.
I colored the image using a combination of OLO and Copic markers in the following colors:
- Fox: OLO O2.2, O2.5; Copic E000, E00, RV10
- Book: OLO BG7.0, 7.2, 7.3
- Chair: Copic R81, R85, E74, E77
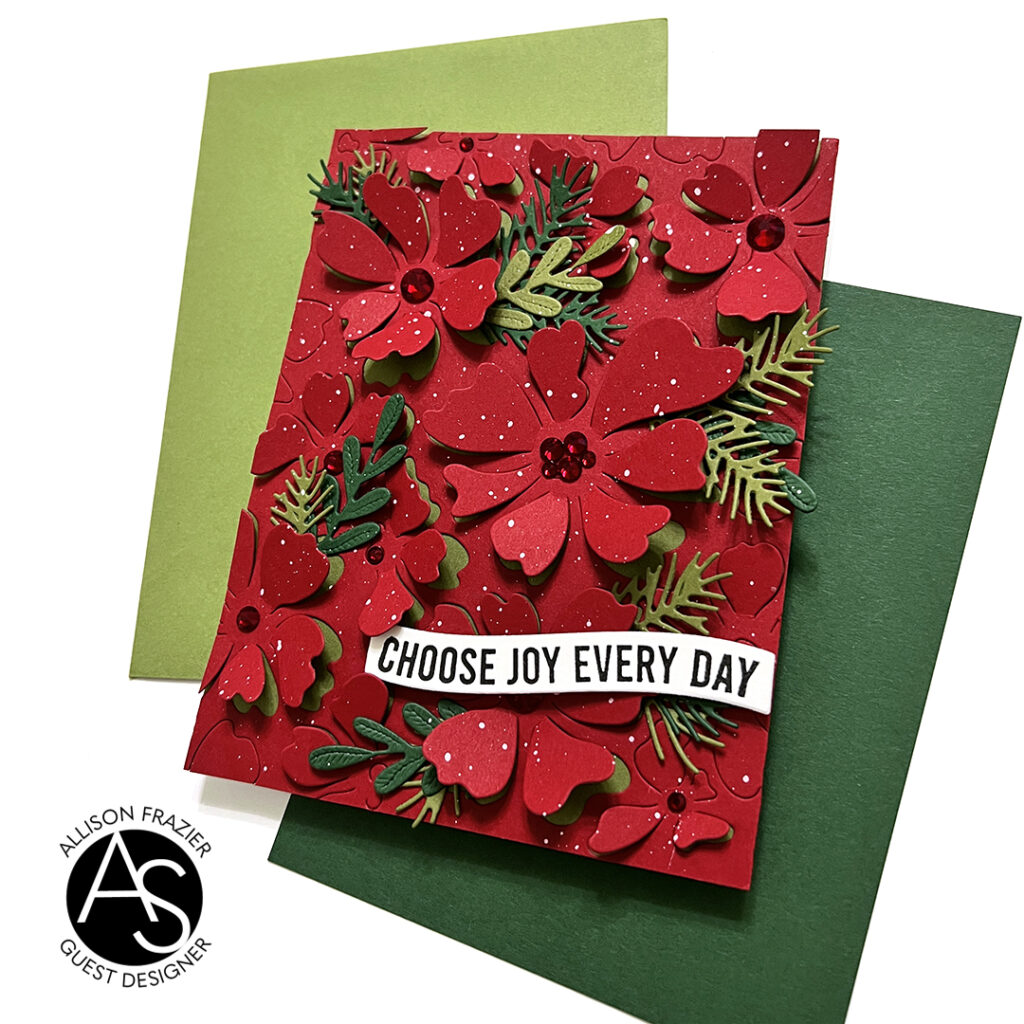
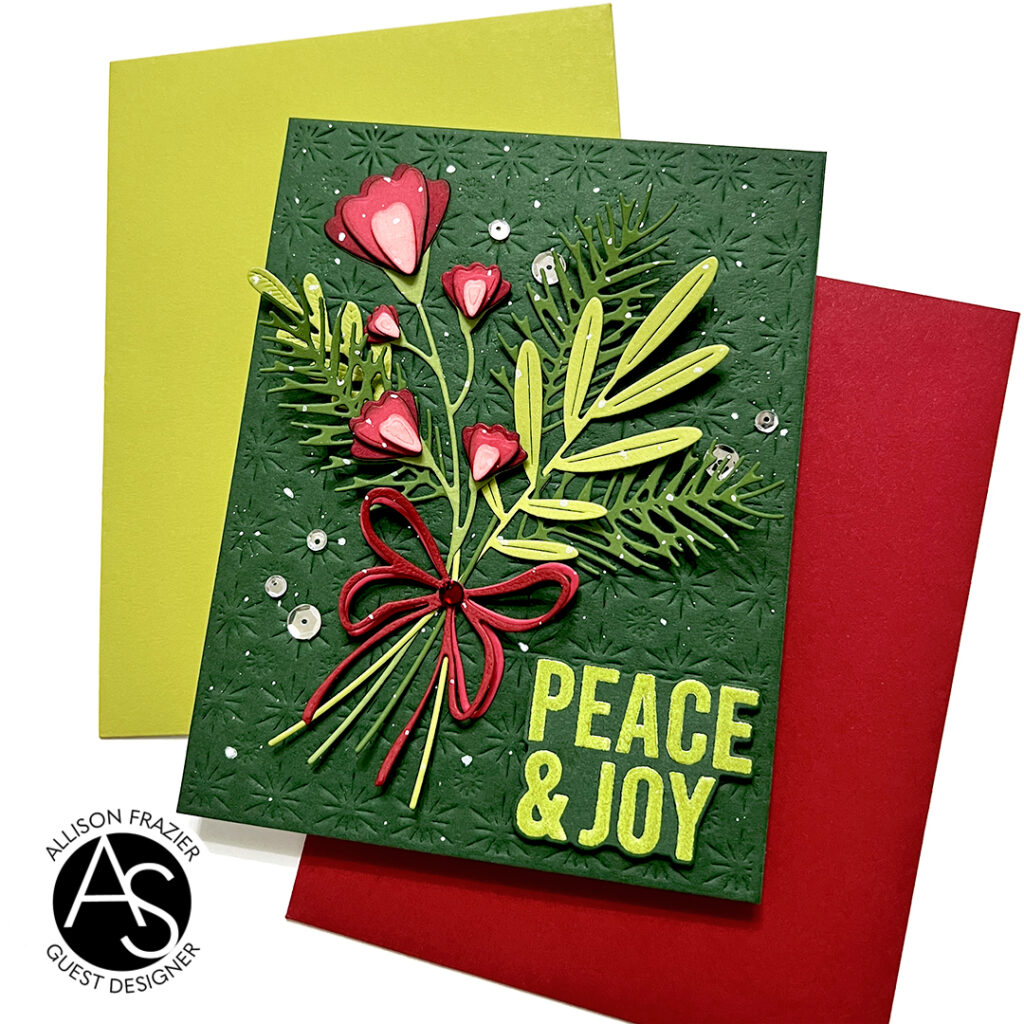
This next card is one of my favorites because it was a surprise card that I wasn’t sure would work! I used the new Urban Blooms Die to create the red panel on this card. As you can see on the card below, this die creates what is essentially a round design. So to cover the whole A2 sized panel, I did multiple cuts with the die. I just rotated it in order to not have too much space in between flowers. When I was done cutting, I adhered the red panel to a green card base, making sure not to glue down any of those petals! The die really does all the work here – all of that dimension is from the die. Where there were flowers that got cut off on the edges, I just glued those pieces back into place onto the green card base.
I pulled in some Christmas foliage from the Jingle Bell Joy Die Set and added leaves here and there, tucking them in under the petals. Before adding my sentiment, I splattered the card base with white Distress Paint. My sentiment comes from the Christmas Sentiments Stamp Set, and I cut it out with the die from the matching die set. For a finishing touch, I added some red gems into the middle of the flowers.
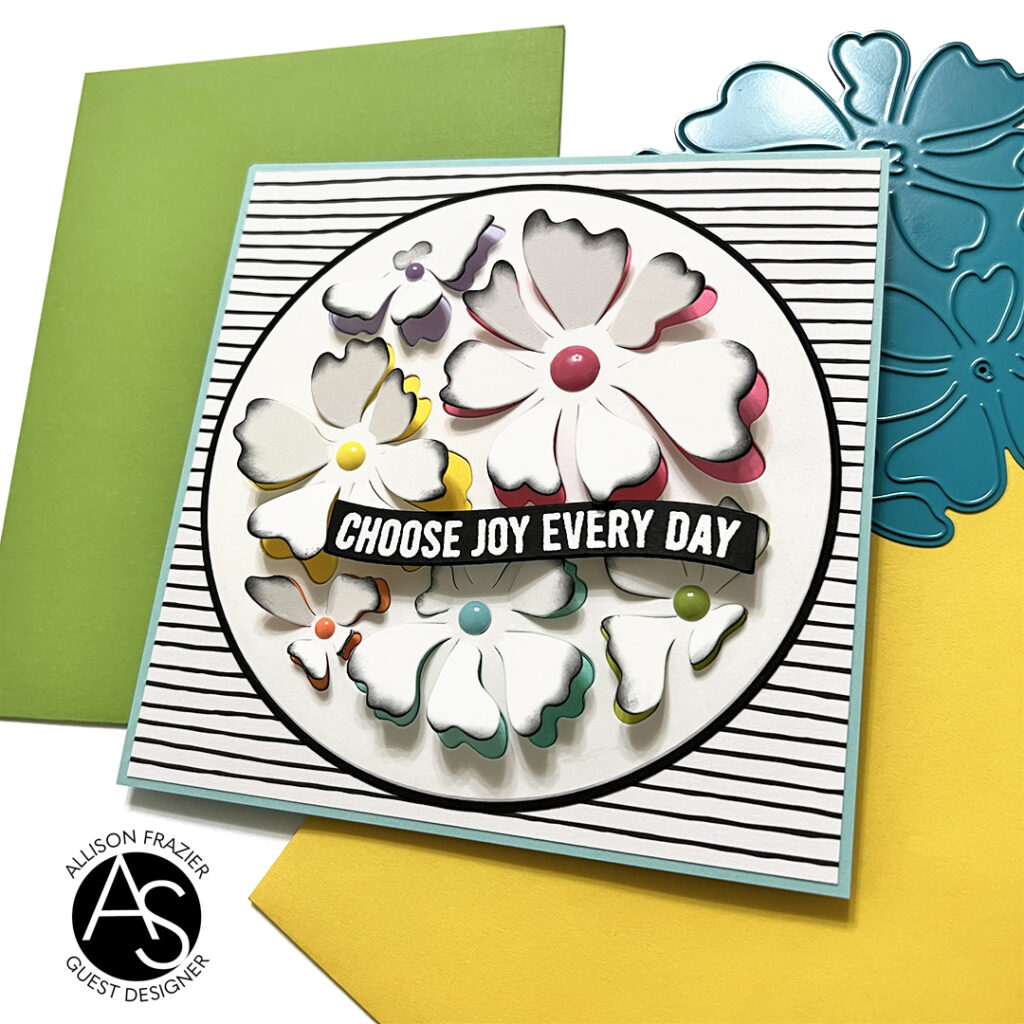
Like I mentioned above, the Urban Blooms Die creates what is essentially a round design. So, I embraced that by cutting out the design with a circle die. I actually did this twice. For the bottom layer, I taped the flowers in place from the back (so that they couldn’t pop up). I then colored each flower a different color. When I adhered the top layer over it, you can now see those colors peeking through! I added the same color enamel dot to the center of the flowers – I may or may not be addicted to buying enamel dots in every color! I created a square card base using some old patterned paper to mount my circle die on. Notice how the sentiment is the same as the Christmas card above – it’s such a versatile sentiment!
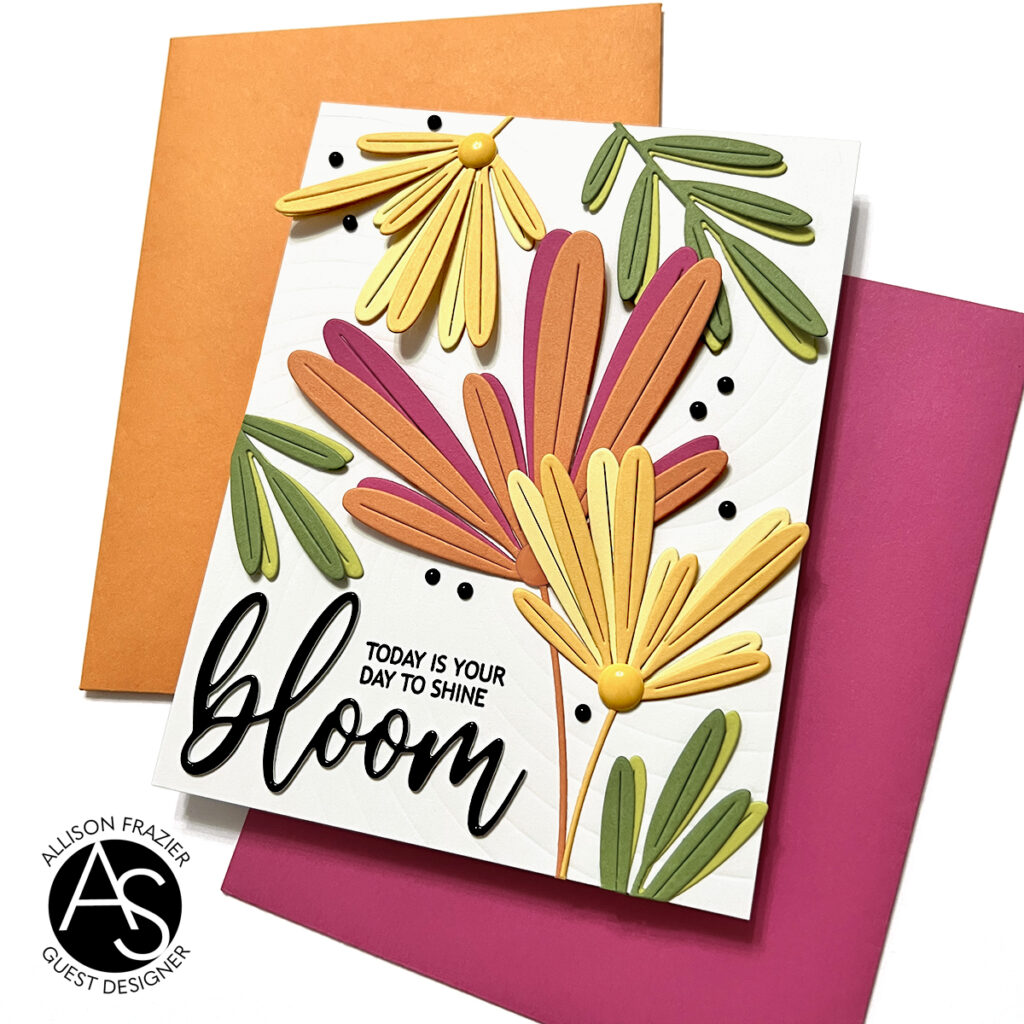
My next two cards feature the new Whimsy Blooms Bouquet die set. I did feature these in a blog post earlier this week, but I’m including them here in case you missed it! You can CLICK HERE to get to that blog post for all the details.
I have had so much fun creating cards with this release, and I hope they have brought a smile to your face. Be sure to head over to YouTube to start hopping for your chance at winning an Alex Syberia Designs gift card!
Wishing you all a crafty day,
Allison
SUPPLY LIST
Note: External links on my blog may contain affiliate links. This gives me the opportunity to earn a small commission when you click on the links and place an order. This comes at no additional cost to you. Thank you so much for your support! You can see more information on my Affiliate Disclosure page.


sled card – unusual but it works colored background color choice. thank you
Wow! These are awesome! I really love the pink sky on that first card!