Hello, friends and happy weekend! It is going to be a cold one here in Colorado, so I am looking forward to snuggling up in my craft room. Today, I am sharing a pair of cards that I made with the new Vivid Expressions Collection from Spellbinders. The beautiful color palette that I used came from my unboxing of the latest Your Paper Insider Box 10. You can see the unboxing and card process in my new video (see below). I created some fun borders on these cards using new border dies. But, you can use whatever dies you have in your collection to create borders. Check out this previous blog post where I did just that!
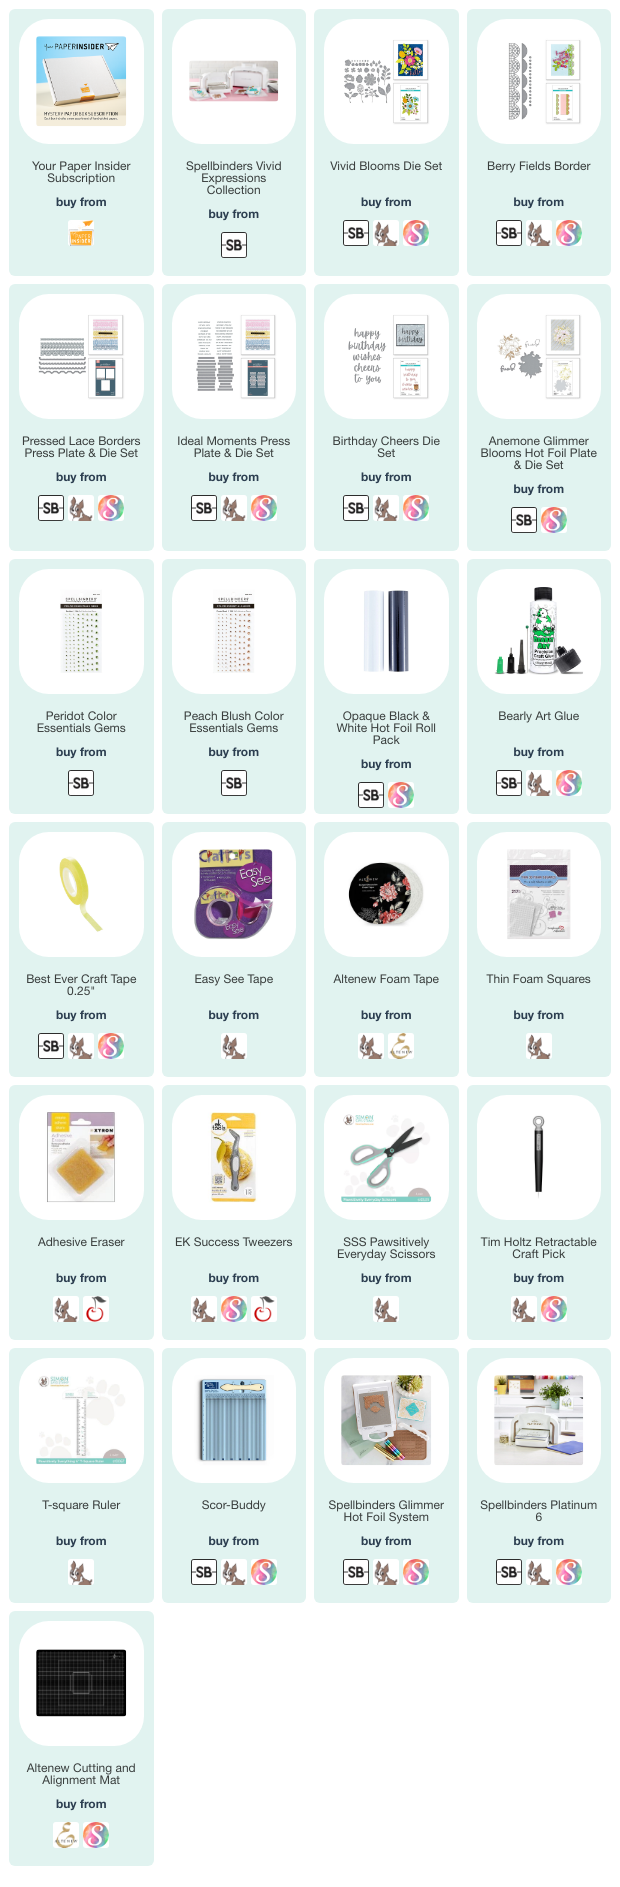
The main products that I used for these cards are:
• Vivid Blooms Die Set
• Berry Fields Border
• Pressed Lace Borders Press Plate & Die Set
• Ideal Moments Press Plate & Die Set
Let’s move on to the cards! Like I mentioned above, I have a new video sharing how I made these. You can CLICK HERE to view on YouTube or watch it below.
NOTE: all supplies are linked to multiple sources in the thumbnails at the end of this blog post.
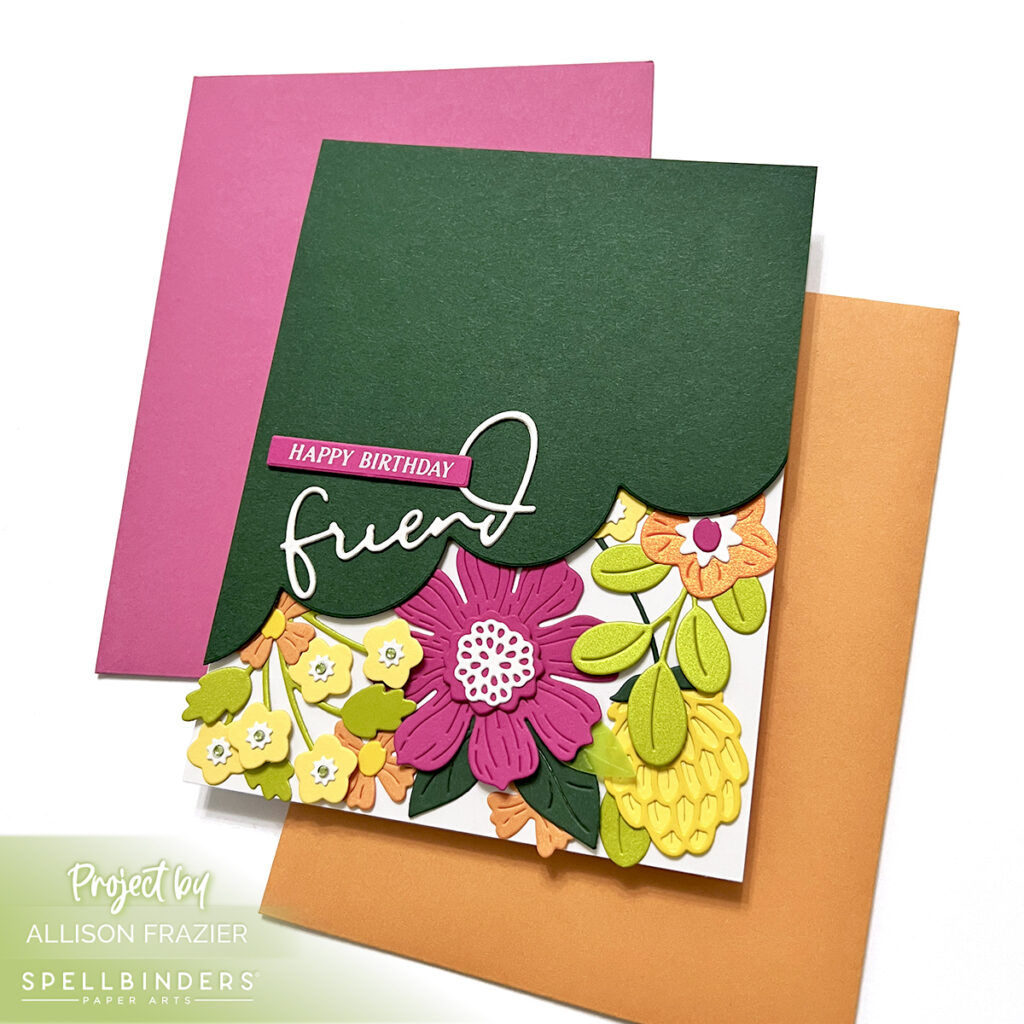
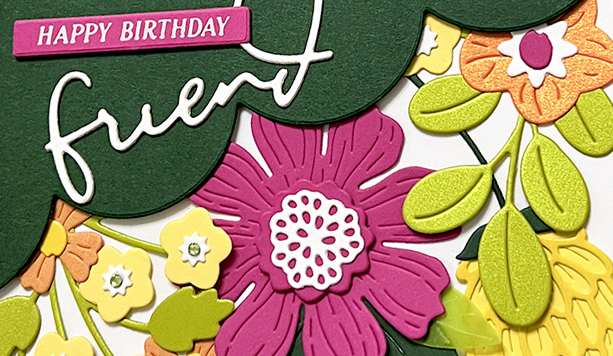
Both of my cards today feature the beautiful new Vivid Blooms die set. This reminds me a lot of the Be Bold Blooms set, in that you can create some really gorgeous large floral designs. It would be great to combine these two sets, as well, since each have their own unique beautiful blooms and foliage. As I mentioned above, the color palette came from the beautiful papers from Your Paper Insider’s latest box, Box 10. I did pull the dark green color from my stash to use for my border panels. I love how the colors pop against this dark color!
For the border on my first card, I used one of the dies from the Berry Fields Border set. I cut an A2 sized panel at an angle to create even more interest for the border. The “happy birthday” sentiment comes from the new Ideal Moments Press Plate & Die Set. I hot foiled it with white foil and cut it out with the matching die. This set has two big plates where you can make many sentiments at once, and then a matching die for each plate where you can cut all the sentiments out at once. When I hot foil onto colors like pink, I don’t always want to “waste” my foil creating all of the sentiments on the plate. I have no idea if I’ll want another pink sentiment in the future. It’s really easy to hot foil just one sentiment and still use the die to cut it out. If I’m hot foiling white onto black card stock, or black onto white card stock, then I’ll foil all the sentiments so that I have them for my stash. Those are colors that will go on any card! Note that I hot foiled my sentiments today, but obviously I could have stamped with the Betterpress System. Finally, the “friend” die is from the Anemone Glimmer Blooms Hot Foil Plate & Die Set.
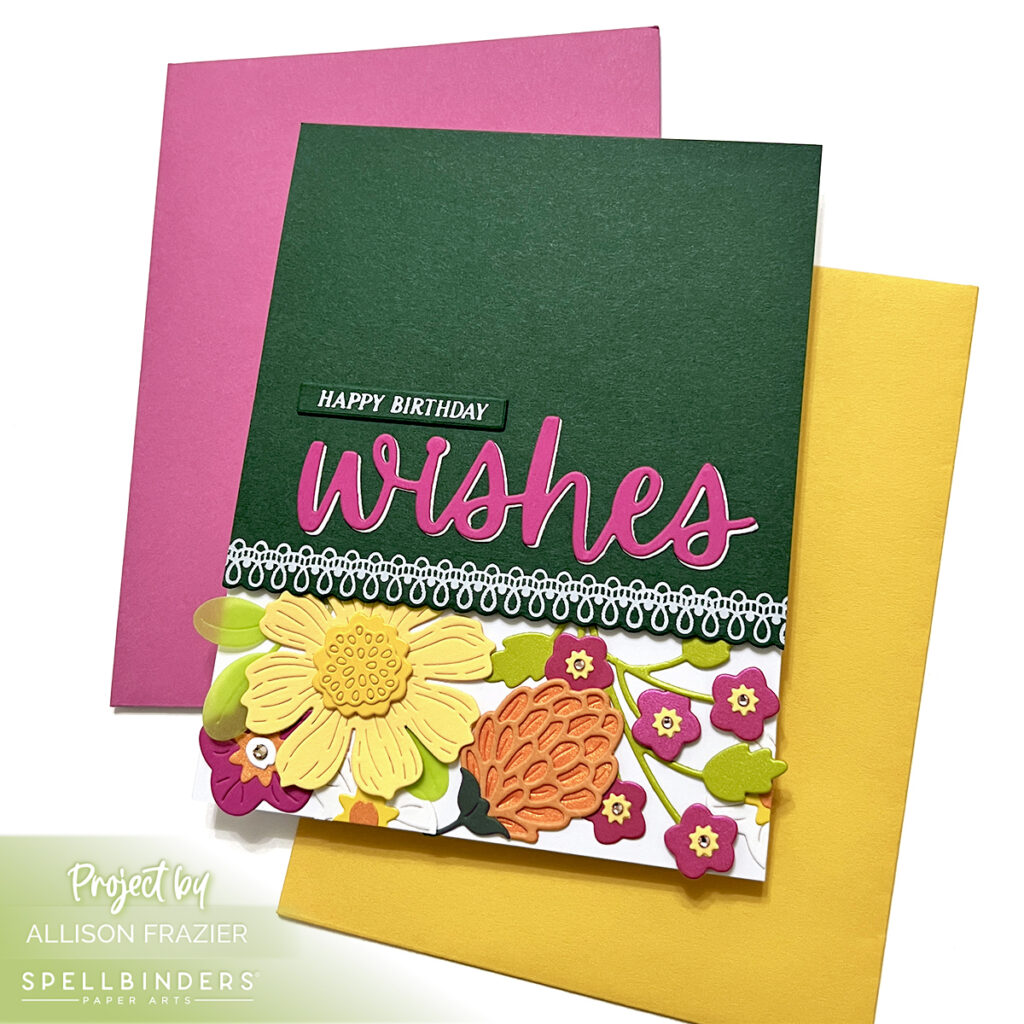
For the border on my second card, I used the Pressed Lace Borders Press Plate & Die Set. This set comes with three different press plates, along with matching dies to cut the corresponding borders. I chose the smallest plate and matching die from the set, and I hot foiled it with white foil again. What can I say? I am addicted to this white foil! Make sure to watch the video to see how I lined up this border perfectly straight on my panel! I didn’t really mention in my video how I could have used a larger green panel, hot foiled my border and then used an A2 sized rectangular die to cut it out and perhaps get as straight of a border as I did here. BUT, why waste more paper when you don’t have to? Plus, you would still need to figure out how to cut that A2 panel out so that it ended up straight. There are so many ways to go about lining things up, and I personally like that part of the creative process. Maybe it’s the accountant in me! For the sentiments on this card, I again foiled that same sentiment from the first card, but this time I foiled it onto the dark green card stock. The “wishes” comes from a fun new set of large word dies called Birthday Cheers. That set is from the new Bougie Birthday Collection, which I still need to find time to play with! Have I mentioned already how many great collections Spellbinders released this month? It has been hard to decide what to create with next!
I hope these cards bring a smile to your face today. Leave me a comment and let me know which card is your favorite! I would also love to hear what your favorite January collection has been. As always, I appreciate you visiting my blog.
Wishing you all a crafty day,
Allison
SUPPLY LIST
Note: External links on my blog may contain affiliate links. This gives me the opportunity to earn a small commission when you click on the links and place an order. This comes at no additional cost to you. Thank you so much for your support! You can see more information on my Affiliate Disclosure page.