Hello, friends! I hope your week has been going well. I am excited to be sharing some cards that I have made with the new Rain or Shine Release from Simon Says Stamp. This release is full of so many adorable products! Of course, there are the usual beautiful stamps, dies, embossing folders, and other goodies, as well. But there is so much cuteness, and you know I love that!
Note: all supplies are linked in the thumbnails at the end of this blog post.
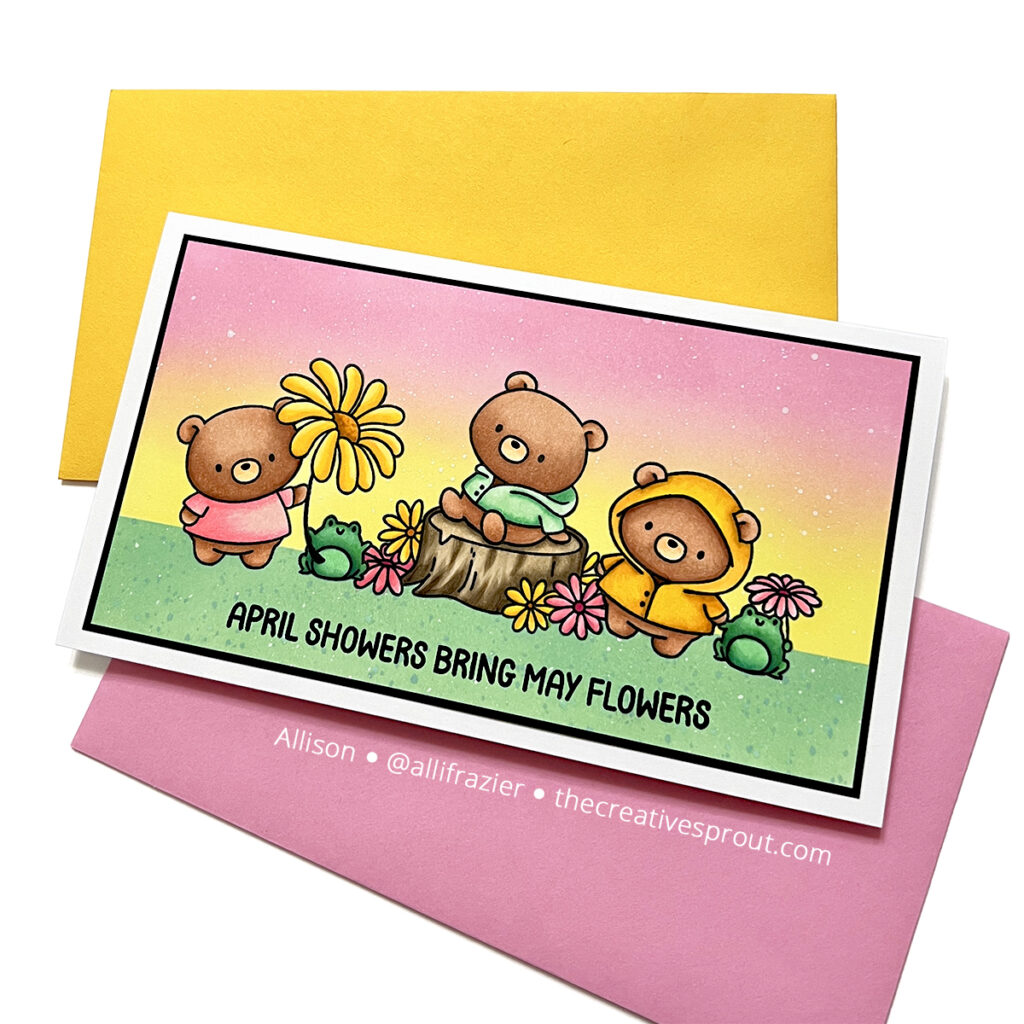
My favorite product by far is the new Rain or Shine Stamp Set, and I have to believe that there’s a reason it has the same name as the release. These bears are so adorable, but then there are the teeny tiny frogs, too! I decided to do something that I don’t do often enough – mask a scene. It was definitely worth all of the effort because I love the result! Note that there are matching dies for this stamp set, which I did not need for my cards today.
I first stamped all of my images onto masking paper and then fussy cut them. I created my scene by testing various layouts. When masking, you always stamp whatever is in the very front first. For this scene, that meant that I could stamp all three bears at once. I then covered the bears up with the masks and stamped the two frogs. After covering the frogs with their masks, I was finally able to stamp the tree trunk, which includes those flowers.
Once I had stamped my scene, I covered the tree trunk with its mask so that all of my masks were still covering the stamping. I then cut a straight panel of masking paper and masked off where I wanted the grass line (adding the masking paper to the top, or sky area). I took Cracked Pistachio Distress Oxide and blended the grass area. I then watered down some Cracked Pistachio Distress Ink and Evergreen Bough Distress Ink and splattered the grass. I removed the mask from the sky and covered the grass area that I had just blended. I blended Squeezed Lemonade and Kitsch Flamingo Distress Oxides for the sky. I splattered the sky with white Distress Paint.
Now that my scene was complete, I could finally color in all the critters. I used a combination of OLO and Copic markers for my coloring. Here are the colors that I used:
- Pinks: Copic RV21, RV23, RV25, RV09; OLO R5.1
- Yellows: Copic Y11, Y17, YR24; OLO Y2.2, Y2.3
- Greens: Copic G02, G05, G16; OLO G0.1
- Browns (Bears): Copic E01, E02, E11, E13, E15B
- Browns (tree trunk): Copic E40, E41, E43, E44

Since I love this Rain or Shine Stamp Set so much, I had to make another card with it. I cut a white panel with a die from the Postage Stamp Edge Frames die set. I stamped a sentiment from the new Thank You Basics Stamp Set from CZ Design. I then stamped the bear above it and colored it. I used the same pinks and browns that I used on my first card, but this time I used some yellow-greens. I used OLO YG2.1 and YG2.3, along with Copic YG03 and YG17. I thought it would be cute to have the little frog on a stamp, so I used the Postage Collage Cover Die Set to cut the green stamp outline. I then stamped my frog and trimmed it down to fit inside that stamp shape. I stamped the 50 cents sentiment from the Waffle Flower Postage Collage Stamp Set. I didn’t really intend to make the bear and frog be twins with their colors, but I think they’re super cute.
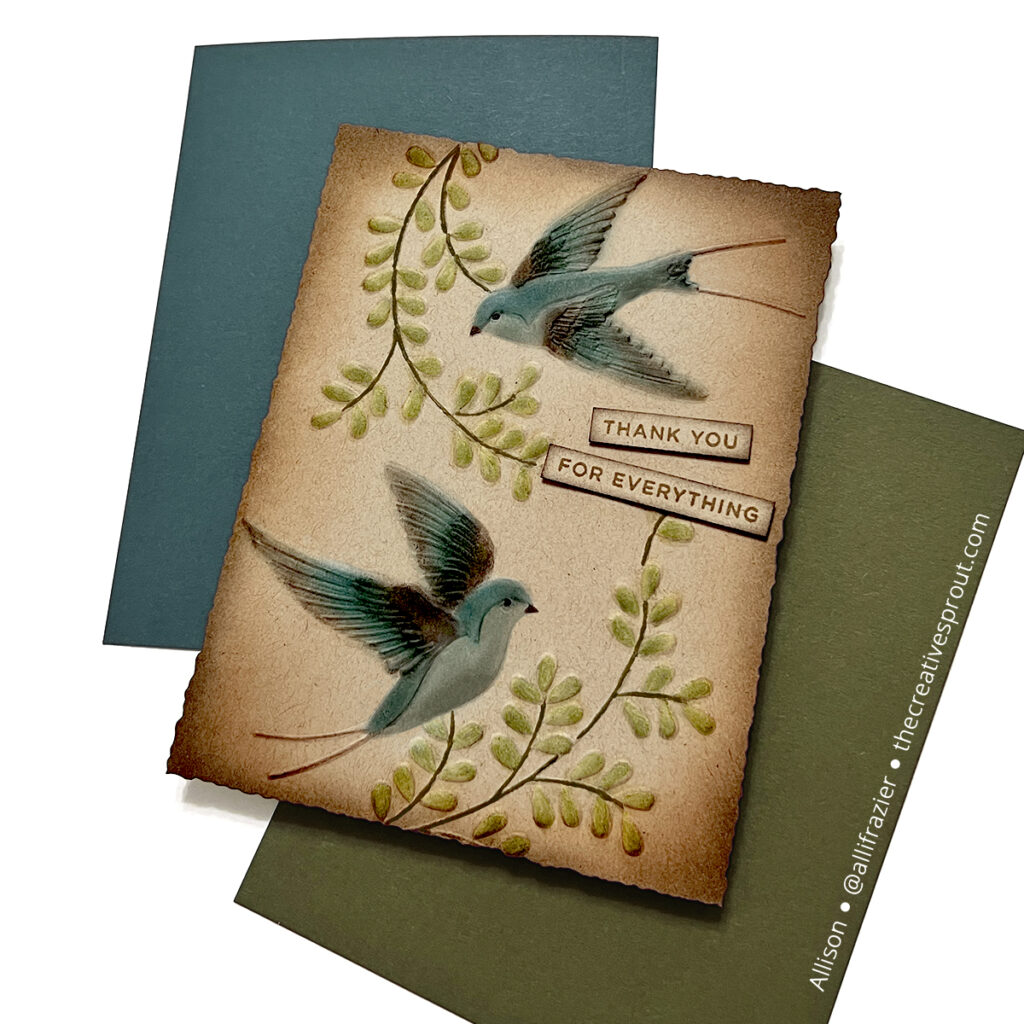
My next card definitely switches gears into something a bit more “moody” looking. This card features the new Soaring Swallows Embossing Folder. I embossed a panel of Kraft card stock and then used my Distress Inks to color the embossed, raised edges. I was able to color the small areas using my favorite Shader Brush 2+ from Waffle Flower. I used the following colors:
- Speckled Egg
- Uncharted Mariner
- Shabby Shutters
- Bundled Sage
- Scorched Timber
Note that there are matching dies for this embossing folder, which means you can cut out the birds, emboss them in the folder, and then color them! This makes it a lot easier to color the birds if you’re not comfortable doing it the way I did. The sentiments on this card come from the same Thank You Basics Stamp Set that I used on the previous card. When I was finished coloring the embossed areas, I ink blended the edges of the card panel with Vintage Photo Distress Ink, followed by Scorched Timber Distress Ink.

My next card is definitely different! I started with a yellow panel and stamped the Old Letter stamp set with some SSS Barely Beige ink. I intentionally created an uneven stamping by only pressing down on my MISTI door in certain areas. I then took the corner floral stamp from the new Loving Thoughts Stamp Set and stamped it with black pigment ink in two corners. I took yet another sentiment from the Thank You Basics Stamp Set and stamped it towards the bottom. I really was going for a French country toile look. I didn’t plan on including the new Bounding Bunnies when I started this card, but I think they really work with the whole toile vibe! I cut them in black to stick with the color theme. I sprinkled some black gems around the design, and then I added some white and black string at the top of the card to tie everything together (literally)!
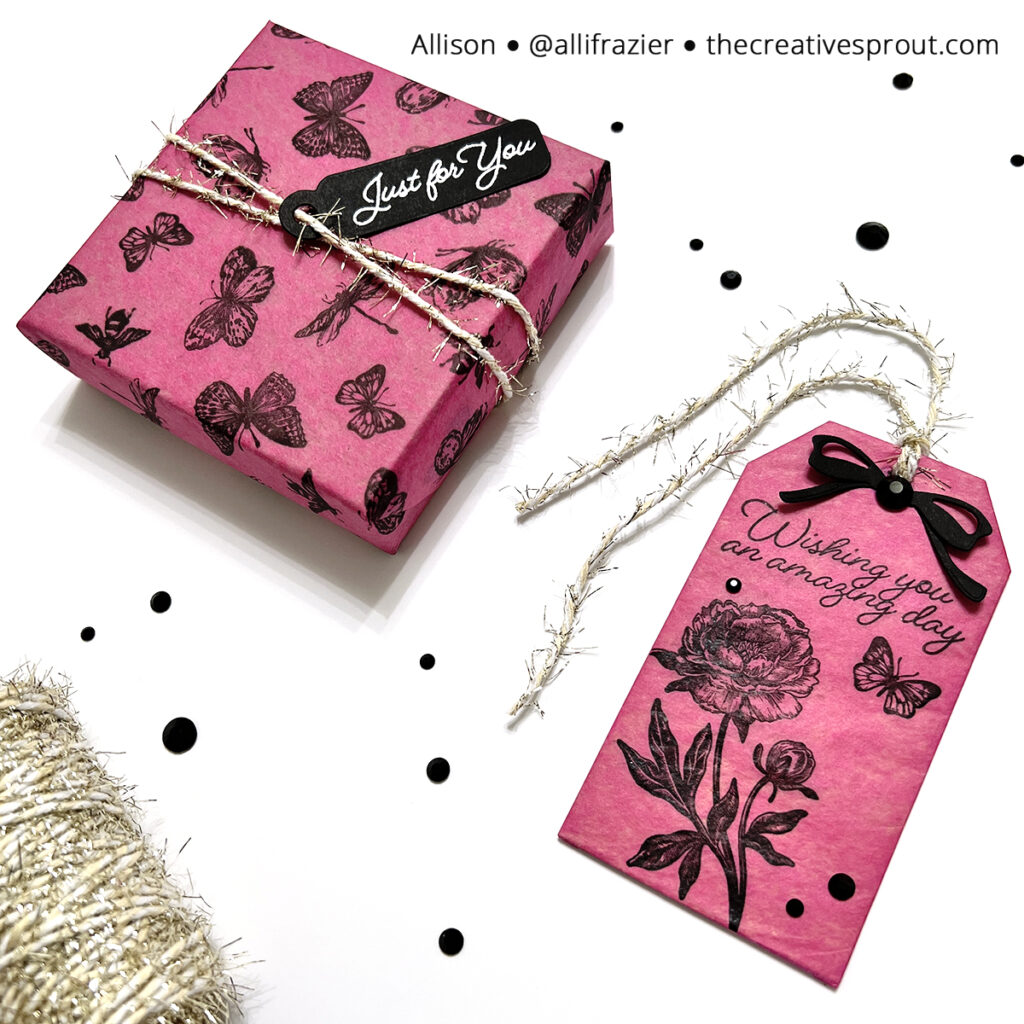
My last project is not a card. Instead, I created some gift wrap and matching tag with the Loving Thoughts Stamp Set. I used some tissue paper and black pigment ink, and I think it looks so great! For the gift wrap, I used all of the butterfly stamps, along with the bee and dragonfly. I just randomly stamped the tissue paper. For the little tag on the box, I embossed a sentiment from the set onto a tag that I created with the Assorted Tags set from Spellbinders. I had to do partial die cutting to get the tag to be long enough for my sentiment. For the large, standalone tag, I first cut the tag from Kraft card stock. I then wrapped this with the tissue paper, taping it on the back. I cut another tag from cardstock to cover up this not-so-pretty back. Once I had my pretty tissue paper tag, I was able to stamp my images and sentiment. For the top of this tag, I added a black bow from the Pretty Bows Die Set. I finished with some black gems.
I hope these cards bring a smile to your face. Thank you so much for visiting my blog today. Be sure to visit Simon’s website to check out the entire Rain or Shine Release.
Wishing you all a crafty day,
Allison
SUPPLY LIST
Note: External links on my blog may contain affiliate links. This gives me the opportunity to earn a small commission when you click on the links and place an order. This comes at no additional cost to you. Thank you so much for your support! You can see more information on my Affiliate Disclosure page.
I had SUCH a hard time deciding what to get and what could wait. I decided that this bear stamp/die set would have to wait. Now I am reconsidering. Your cards featuring that set are winners. The other cards are also very pretty.
Lori S in PA
Thank you so much, Lori. It is a great release with so many different things, for sure! I really appreciate your support of my blog