Hello, crafty friends! I am super excited to be guest designing for i-crafter today. They have so many unique products. When I saw their Slimline Knit, Knots & Stitches Die set, I had to have it. The knit die reminded me of one of my good friends who makes those cool hand-knit chunky blankets. In fact, I made one myself with her help a couple years ago. So what could be more fun than mixing knitting with card making?

Card One
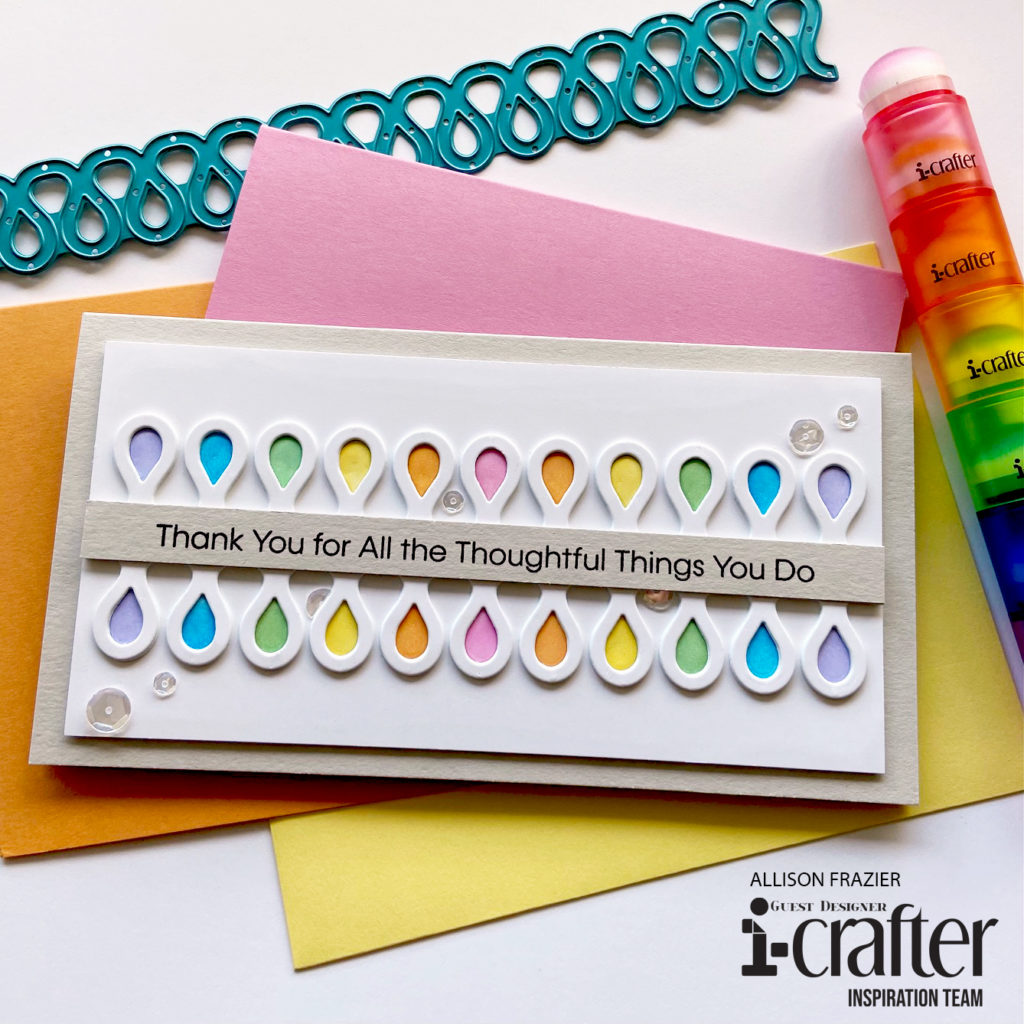
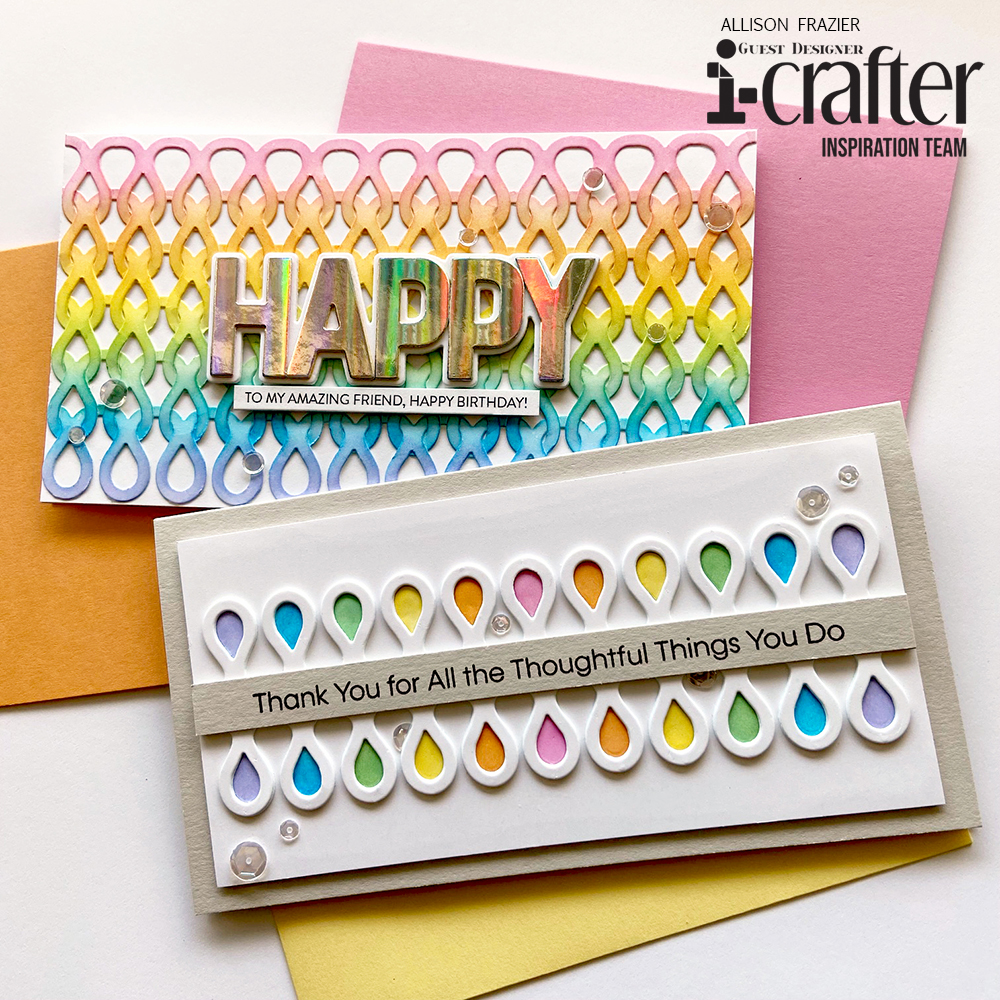
If you know me by now, I like to use supplies a bit differently than maybe they were intended. So, while I was excited to “knit” a card, I actually decided to use the die as more of a decorative element. And the idea really came to me after I cut my first piece of paper with the die. As I was popping out the little teardrop shapes from the die that would normally get discarded, I thought, “Hmmmm, what could I do with these?” I played around with a few ideas until I settled on the one you see in the picture. I cut six strips of paper with the die so that I could stack them for dimension on my card. I saved a bunch of the teardrops and colored them with Distress Inks using my I-Brush Blender Brushes. I used Picked Raspberry, Dried Marigold, Squeezed Lemonade, Cracked Pistachio, Salty Ocean, and Shaded Lilac. I glued the stacked knit rows onto a white card panel and then glued the teardrops into place. I have some long sentiment stamps in my stash which turned out to work perfectly with this design. The card is a mini slimline size. I love that you can use these dies to make any shape card you want.

Card Two
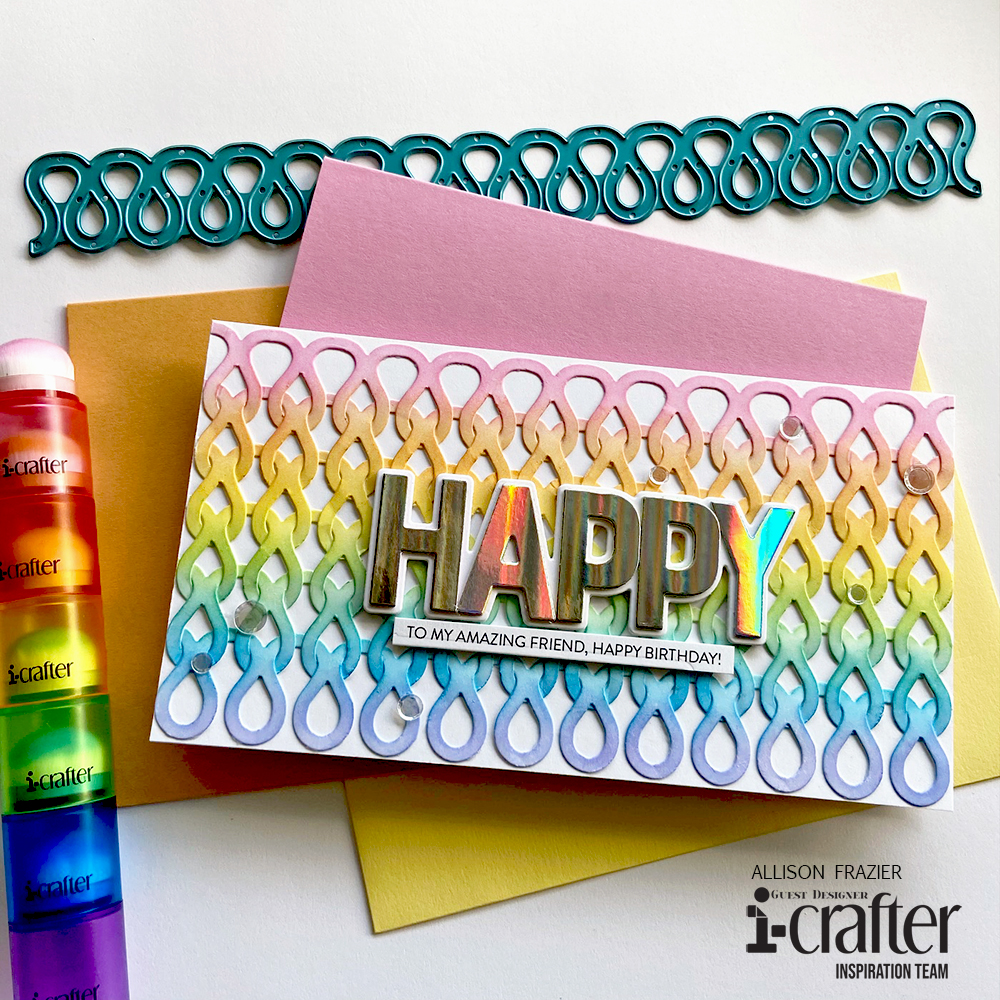
I couldn’t NOT knit a card, right? Instead of using different colored card stock, I decided to make all of my cuts with white card stock and then color them afterwards. To start knitting the die cuts, you start with two rows. It took a minute to figure out the best way to knit the pieces together, but once I got going, it very much reminded me of the groove that I got into when I was hand-knitting that blanket. I was going for another mini slimline size card, so I estimated that I would need 6 rows of die cuts, which also coincided with the rainbow of colors that I used on the first card.
Once I was done knitting the strips together, I had to figure out how to color it. With yarn, you’re managing the spacing while you’re knitting. With paper, it’s a lot different. Unless you glue the loops together as you’re going, you need to figure out how to get even spacing on your final project. I decided to tape the knitted piece onto my Waffle Flower media mat. I made sure that all of the spacing was even, and I taped it along the sides only. Since my strips were longer than my final card was going to be, it was okay to tape off the sides. I then blended the same distress inks that I used on the first card. Would it have been easier to color each strip separately before knitting them together? Yup. But I wanted the colors to blend together, kind of like variegated yarn. Now that I say that, I would have blended the colors a bit differently – I see another knit card in my near future!
Next, I needed to figure out how to adhere the knitted piece onto my card. Since I already had the spacing that I wanted, I just used a piece of Glad Press’n Seal to pick the whole thing up. This made it really easy to glue the back and adhere it to a white card panel without losing the shape. I cut the card panel down so that the knit pattern filled the entire background. This card ended up being slightly larger than a typical mini slimline, but again, it doesn’t matter! I try not to get hung up on specific card sizes because it’s always easy enough to find or make an envelope that fits. I wanted to go with a simple sentiment and decided to use some holographic card stock. I will say that it looks cool in person, but it’s not easy to photograph! I may end up covering the holographic letters with some solid card stock when the time comes. I’m sure you can guess who this card will be going to!

Thanks for joining me today. Leave a comment telling me which card you like better. Be sure to head over to i-crafter to check out all of their cool products. I will be back again next month using some more of their goodies, so stay tuned.
By the way, I wish I had taken pictures of the second card while I was making it so that they could illustrate my process better. I get so immersed when I’m creating that it most often does not occur to me. I need to get better about that!
Wishing you all a crafty day!
Allison
Note: External links on my blog may contain affiliate links. This gives me the opportunity to earn a small commission when you click on the links and place an order. This comes at no additional cost to you. Thank you so much for your support, as this helps me bring you more content.

1 Comment