Hello, friends! I hope you are all doing well. Today, I am sharing two different ways to use the new Postage Collage Envelope Die-n-stencil from Waffle Flower. I am still really enjoying the Blocks of Fun release. I guess you could say they picked the right name for it!
Free Gift:
Waffle Flower is offering a free gift when you purchase over $60 from the new release. The free gift is the adorable Postage Collage Miniature Die-n-stencil. NOTE: In order to receive the free gift, make sure to add the product to your cart and then apply code “G2504” during checkout.
Extra Savings:
If this is your first time ordering from Waffle Flower, and you use my links, you should receive an additional 10% savings!
Free Downloads:
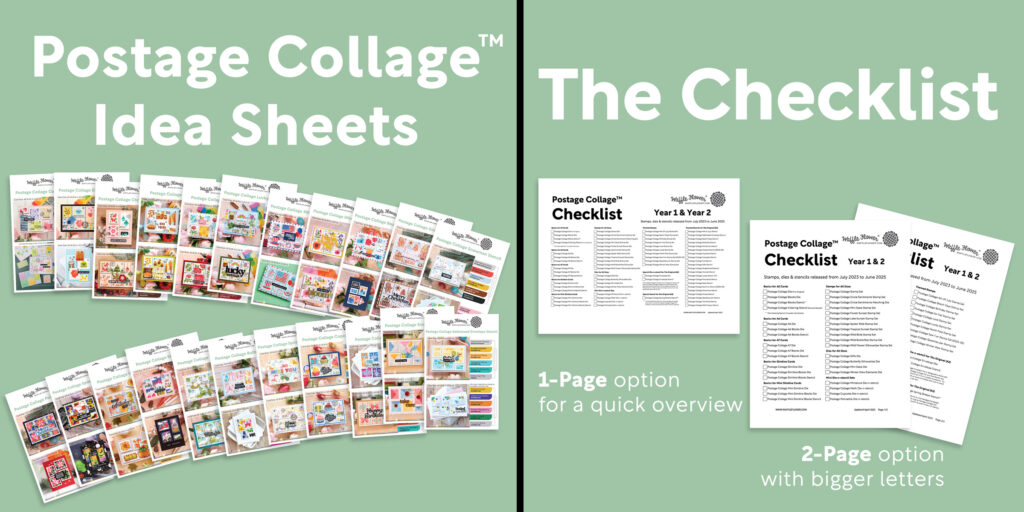
Waffle Flower is now offering some free downloads that are associated with the popular Postage Collage™ Collection! The first is the Postage Collage Idea Sheets. These idea sheets show all the different themed stencils with samples and suggested ink colors. The second is the Postage Collage Checklist, which helps navigate all of the different product offerings in the collection. They are free to download, and I think these are a great idea.
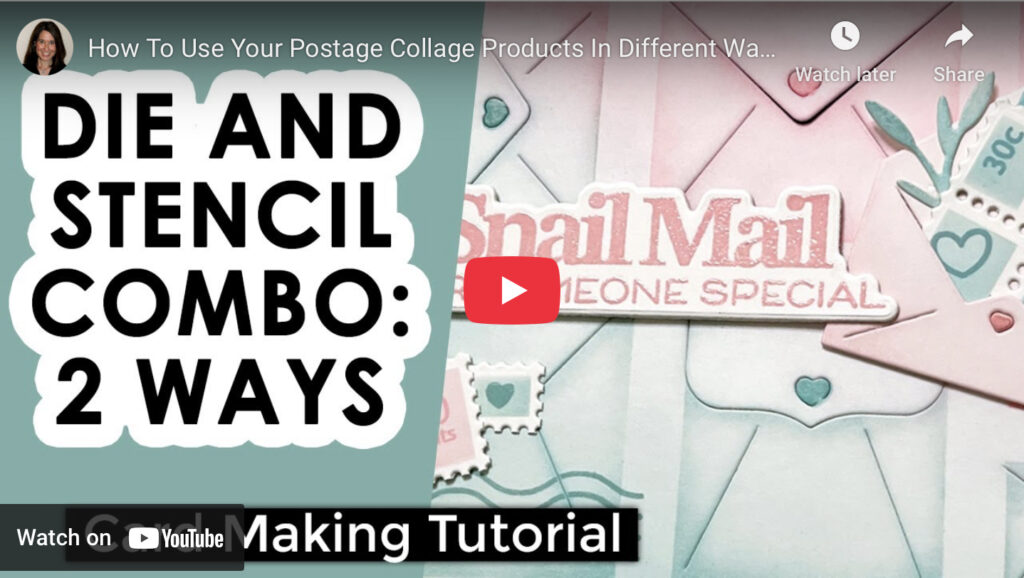
I do have a new video showing how I made my projects today. You can CLICK HERE to watch on YouTube, or you can view below.
NOTE: all supplies are linked to multiple sources in the thumbnails at the end of this blog post.
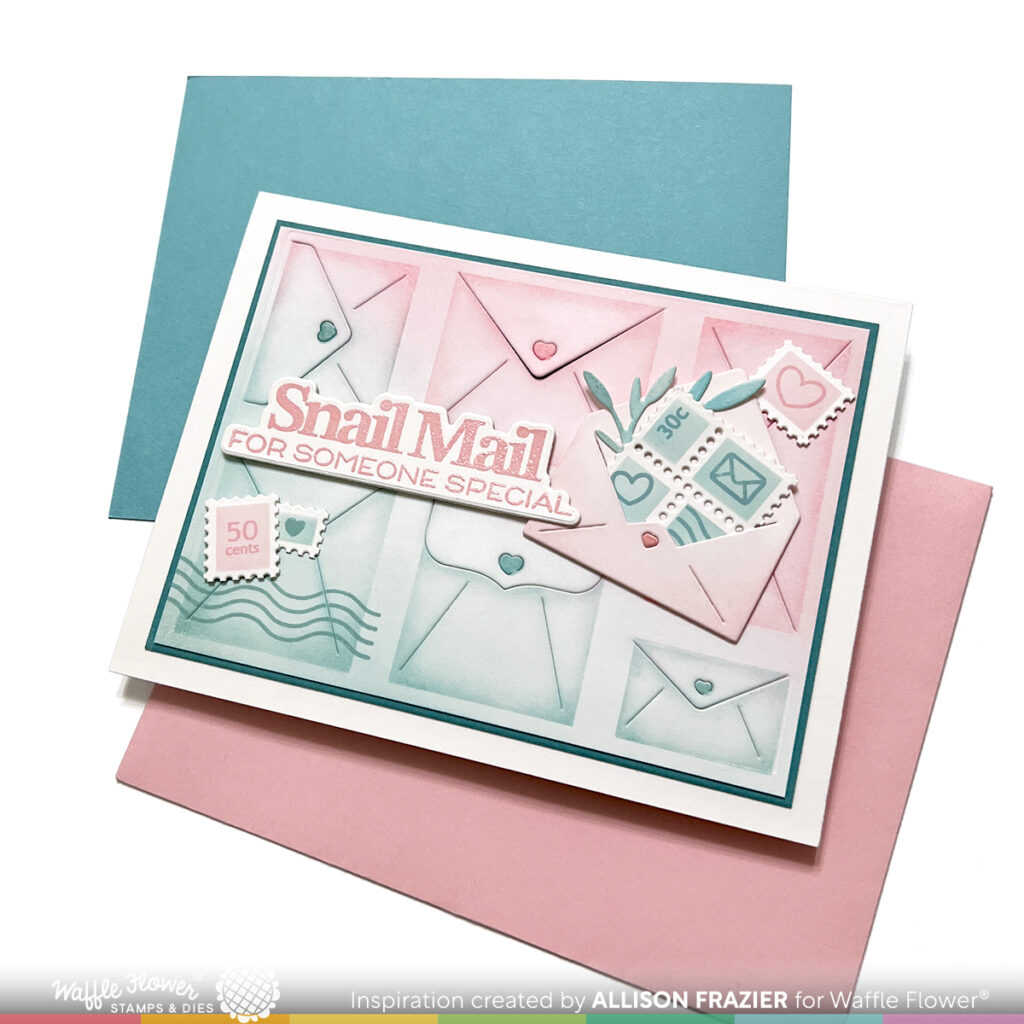
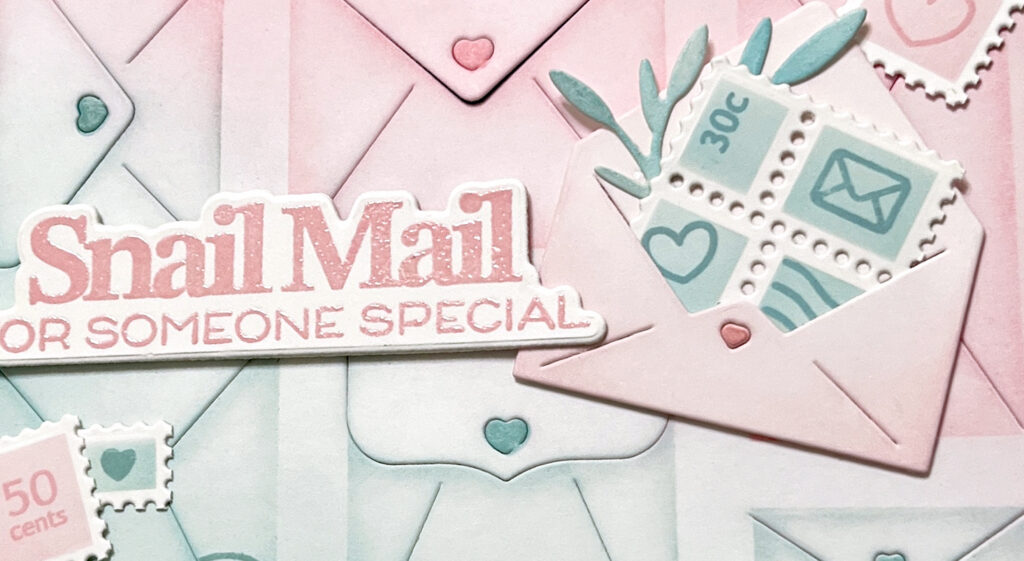
Both of my cards today feature the Postage Collage Envelope Die-n-stencil combo. These products are also sold separately, but there is a discount for the combo. I definitely think you could use the stencil on its own. For this first card, I started by cutting a piece of white card stock with the die. I then added ink blending with my two colors. For both cards, I used Spun Sugar and Speckled Egg. I used Distress Oxide for the blending and Distress Ink for some of the smaller details. Once I was finished ink blending, I took the stencils and very lightly blended the outlines of the envelopes. The little hearts on the envelopes are also part of the stencil.
For my sentiment, I used the Sealed Sentiments Combo. These products are also sold separately if you just want the stamp set. You’ll see in my video how I first used the die to create my die cut, and then I did my stamping and embossing. By doing it this way, my sentiment is perfectly positioned within the die cut, and my embossing was not flattened or marred by my die cutting plate.
The pink envelope on top of the panel, along with the blue sprigs, come from the Postage Collage Mini Seals Die set. And there’s the cute little Postage Collage Miniature Die-n-stencil (see details above for getting this as a free gift).
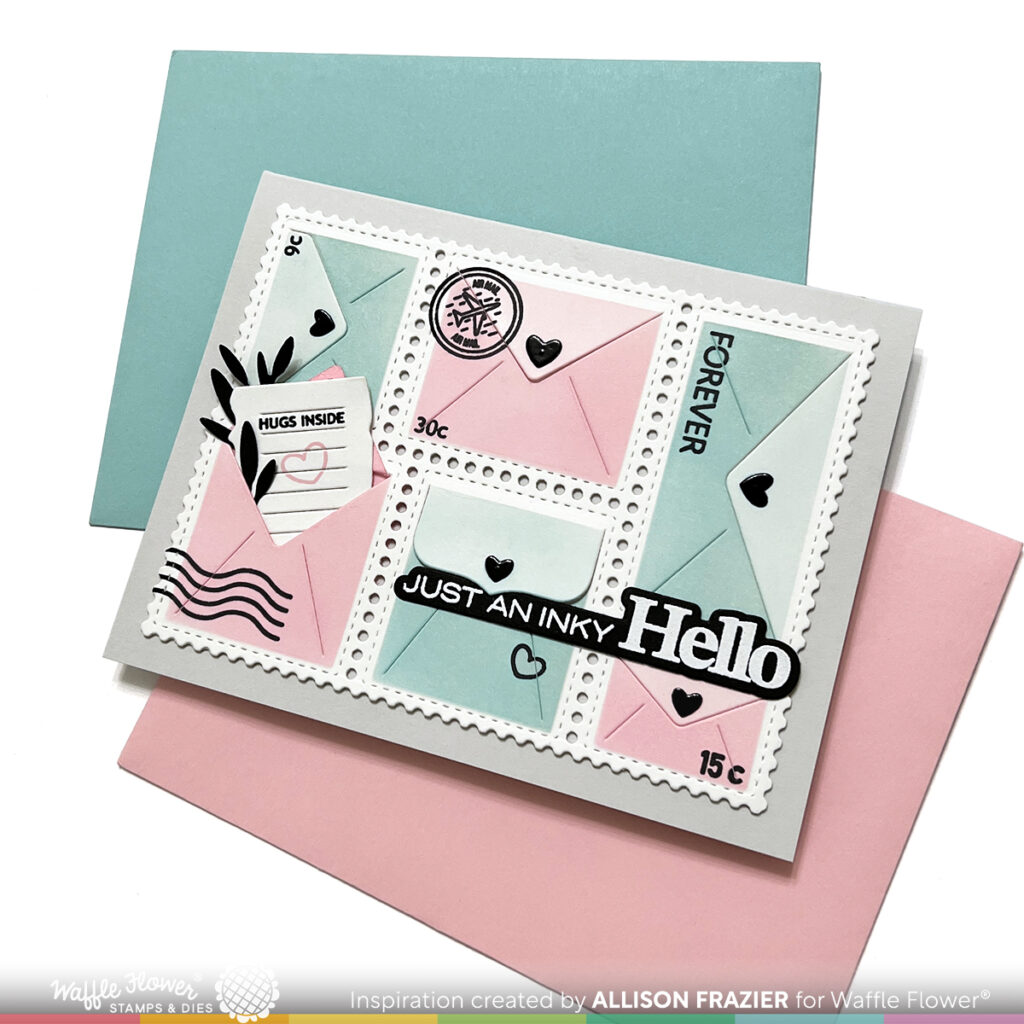
For my second card, I started by cutting a piece of white cardstock with the Postage Collage Die. Then I used the Postage Collage Envelope Die to cut the envelopes. You’ll see in my video how you can actually lift the envelope flaps with this die! This time, I used the matching stencil to color each envelope a different color, although still sticking with that same Spun Sugar and Speckled Egg. I think this is such a pretty color combo! The sentiment comes from the same Sealed Sentiments Combo that I used on my first card. I used the original Postage Collage Stamp Set to add the postage details with black pigment ink. I also used the new Postage Collage Mini Seals Stamp Set to add details to both cards. As a final detail for this card, I added some black glossy hearts on top of the envelopes (where the stenciled hearts are now covered up). These little hearts were from my stash of tiny hearts and stars which I keep in a little container on my desk.
That is it for my cards today. I hope they bring a smile to your face. As always, I appreciate you visiting my blog.
Wishing you all a crafty day,
Allison
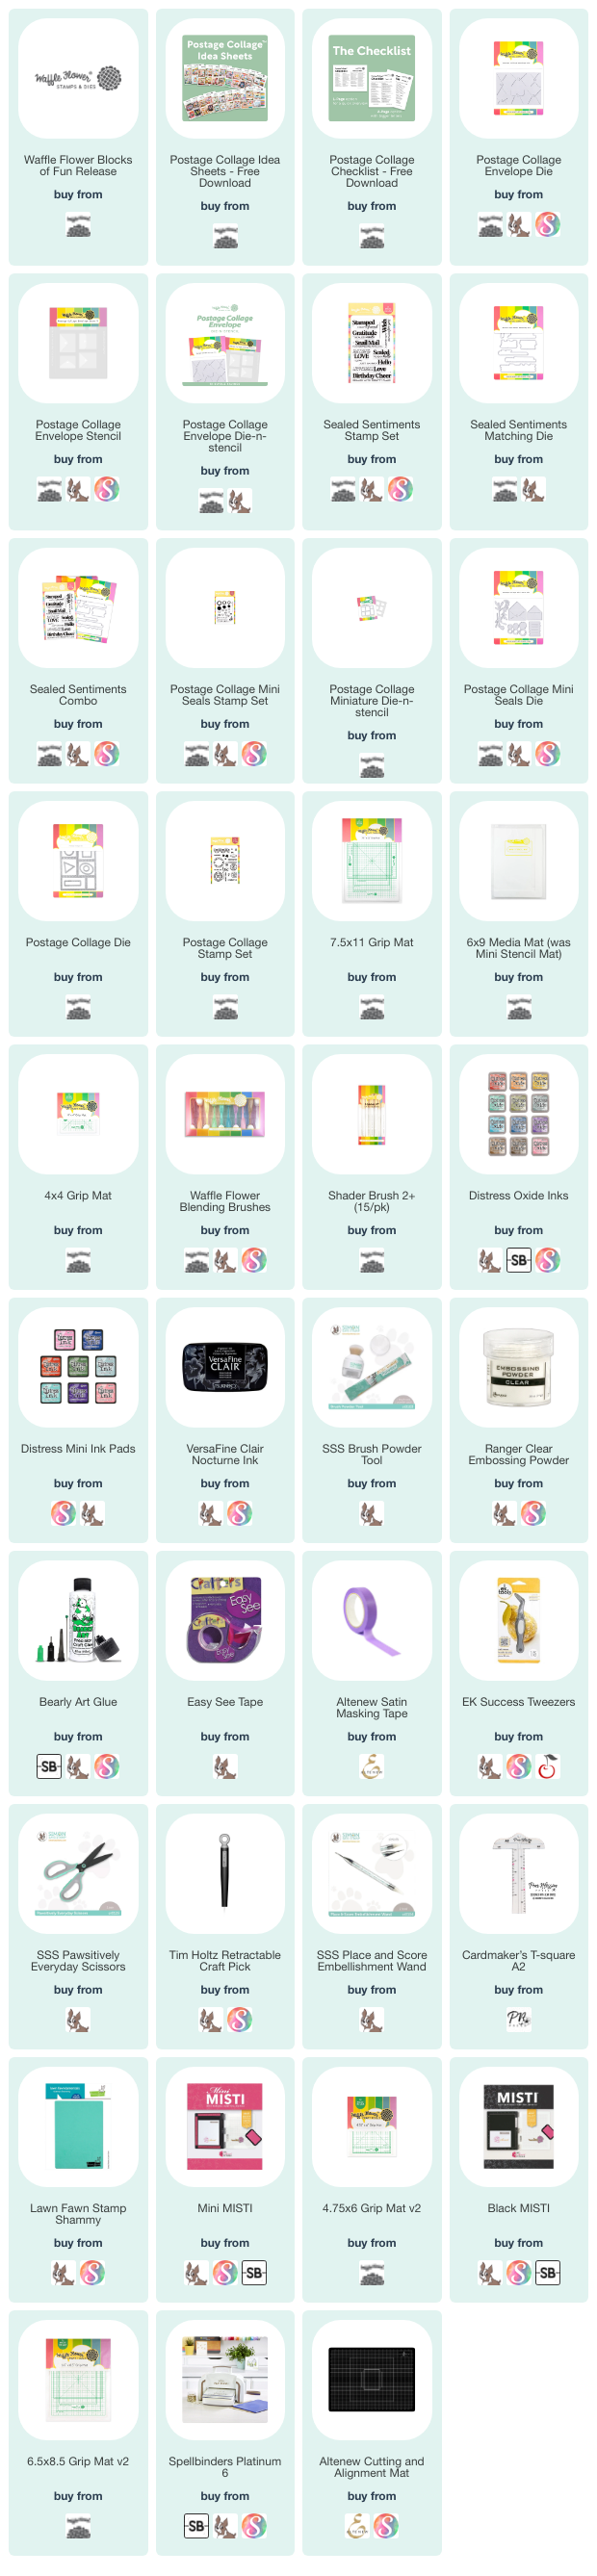
SUPPLY LIST
Note: External links on my blog may contain affiliate links. This gives me the opportunity to earn a small commission when you click on the links and place an order. This comes at no additional cost to you. Thank you so much for your support! You can see more information on my Affiliate Disclosure page.